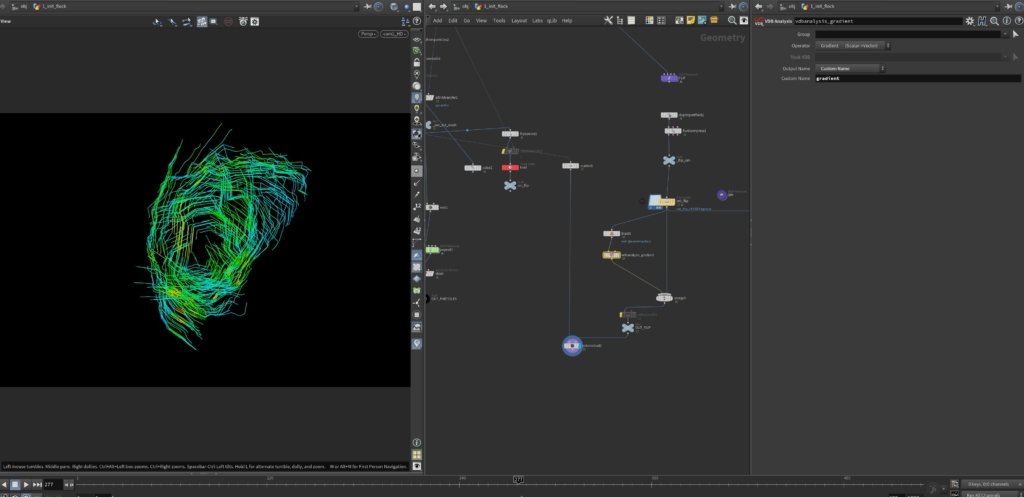
Let’s take a look at those playblasts:
- The first one is just a simple POP setup.
- The second is the velocities from POP particles.
- The third one is a FLIP sim which takes velocities from the first POP particles.
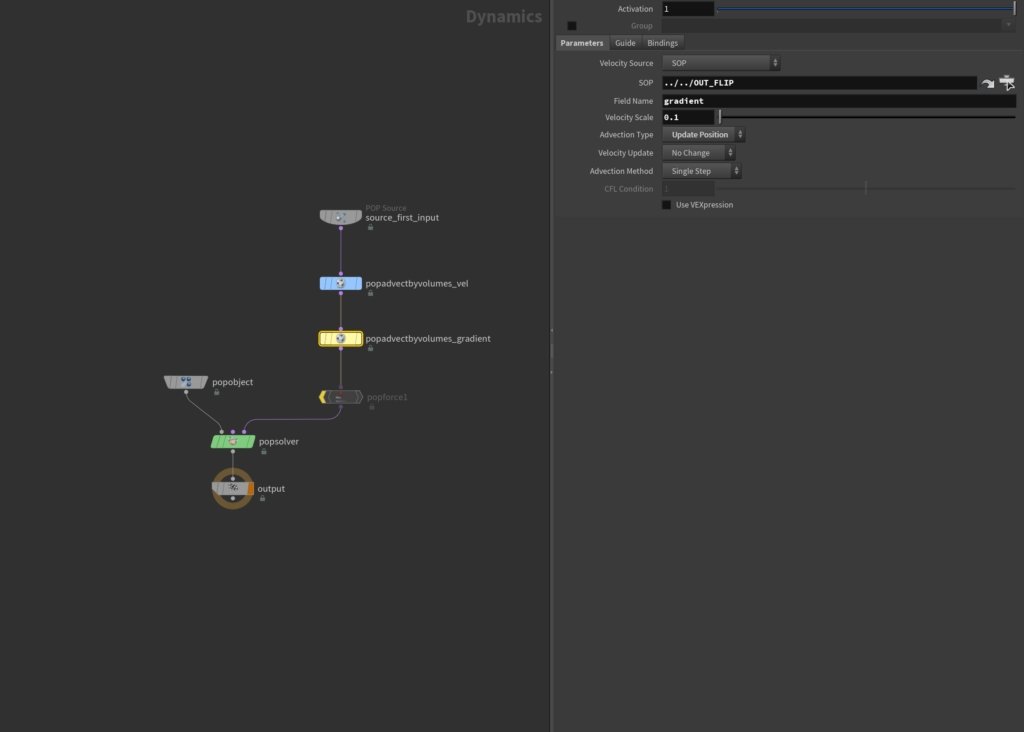
- The fourth one is a POP sim advected by the second FLIP sim. As FLIP sim generates a surface field, we can calculate the gradient and use that in the next POP sim.
You can grab a free Houdini HIP file at the link below.
The beauty of this is that we can generate 3d elements, which can be rendered as particles or rasterised to VDB and rendered as volumes.
Rendering as volumes is quite straightforward – a volume rasterize node will do the trick.
Rendering particles is a bit more complicated as we need millions of small dots to avoid a grainy look. In that case, wedging will come for help, we can sim with different positions seed 10 million particles x10 times, which will be much quicker than simming in one go 100 million.
In the HIP file, there are 2 ways for wedging – the old one wedging and with TOPs.
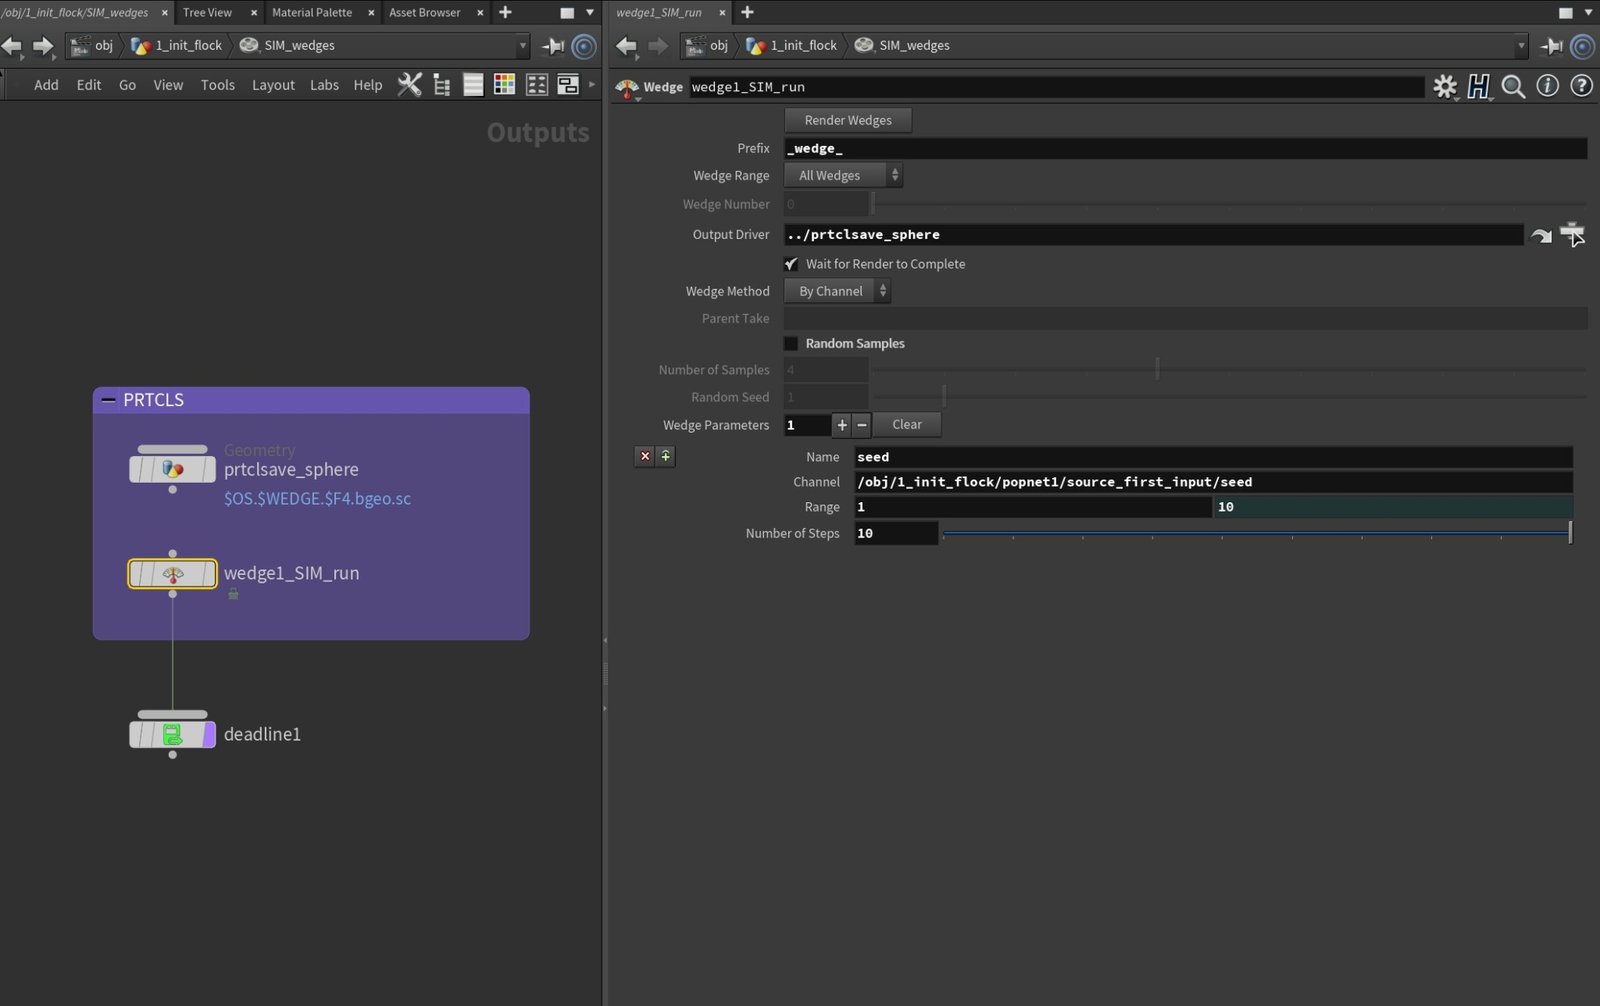
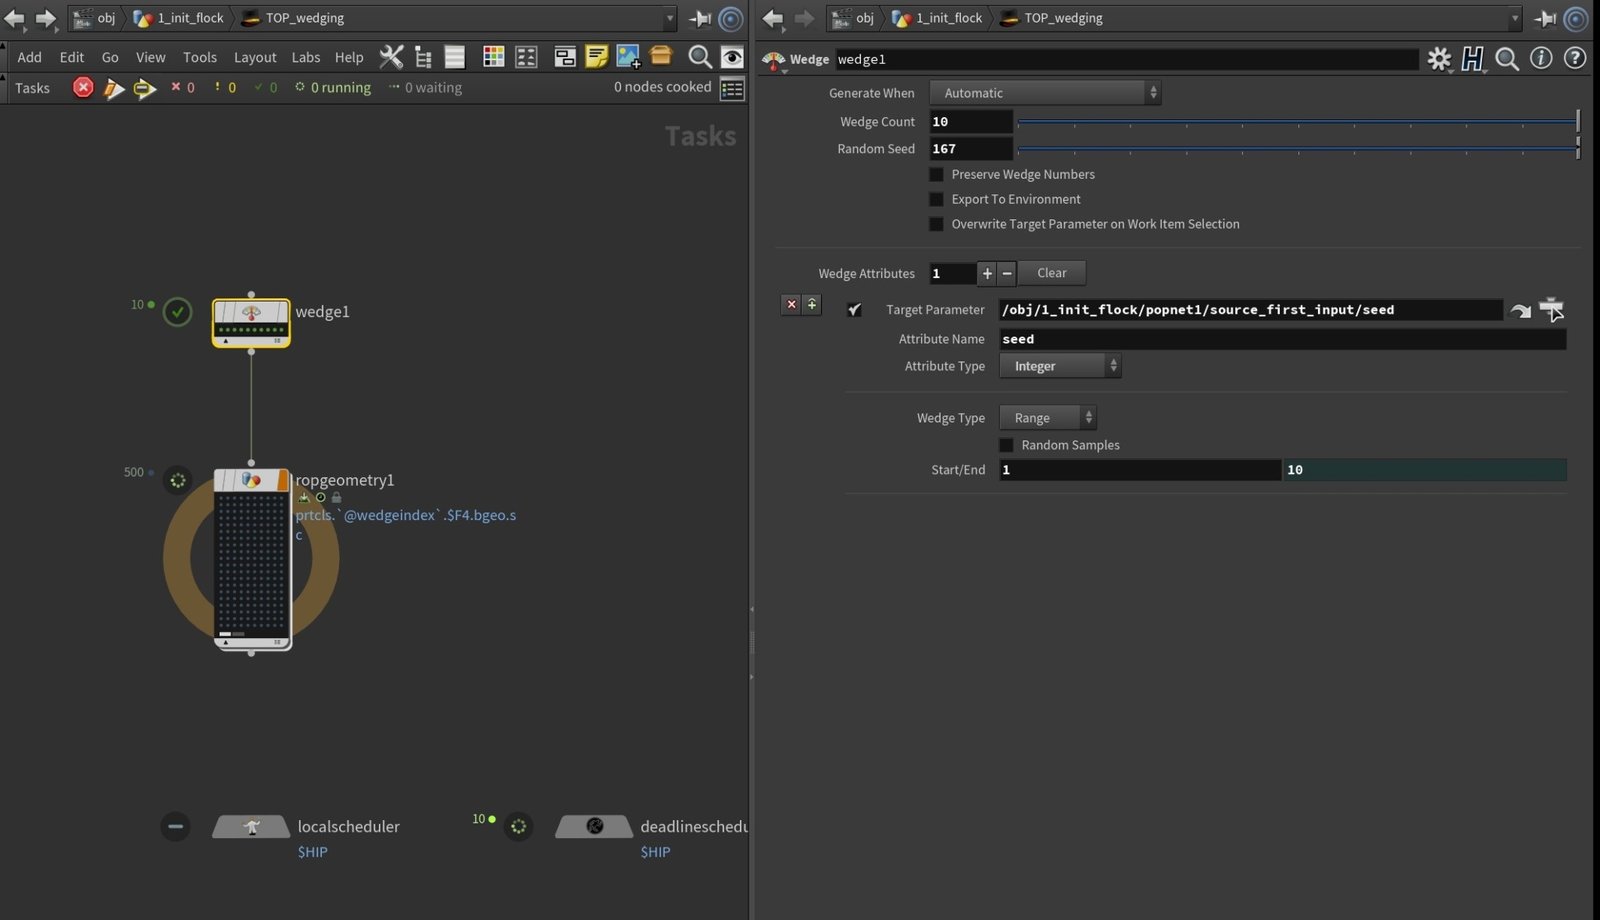
After wedging is complete another handy trick is to work efficiently in sometimes, terabytes of cached data. Usually, I load one partition to work in the viewport fast and with File Merge loading all of them.
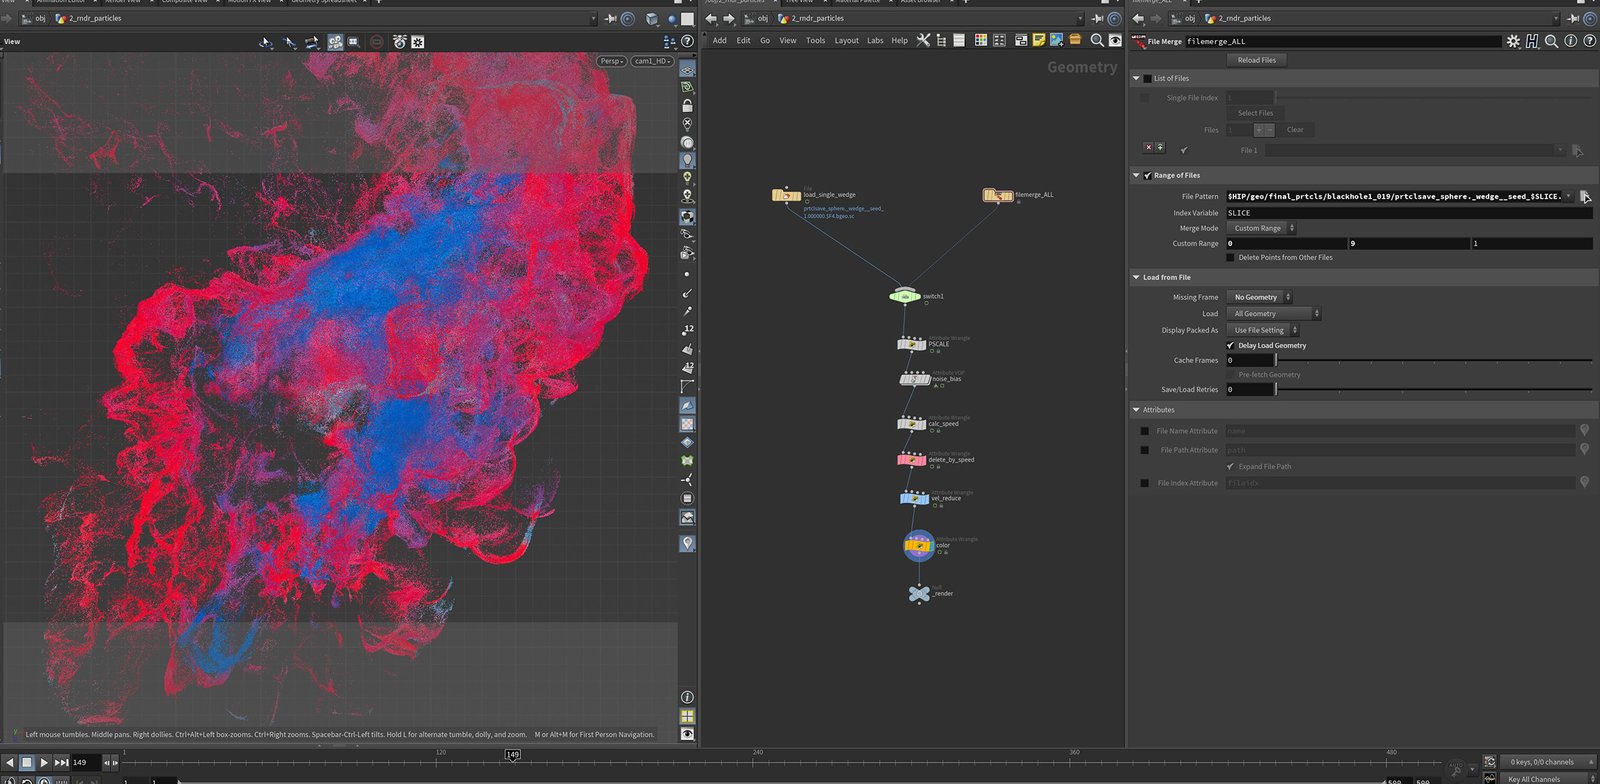
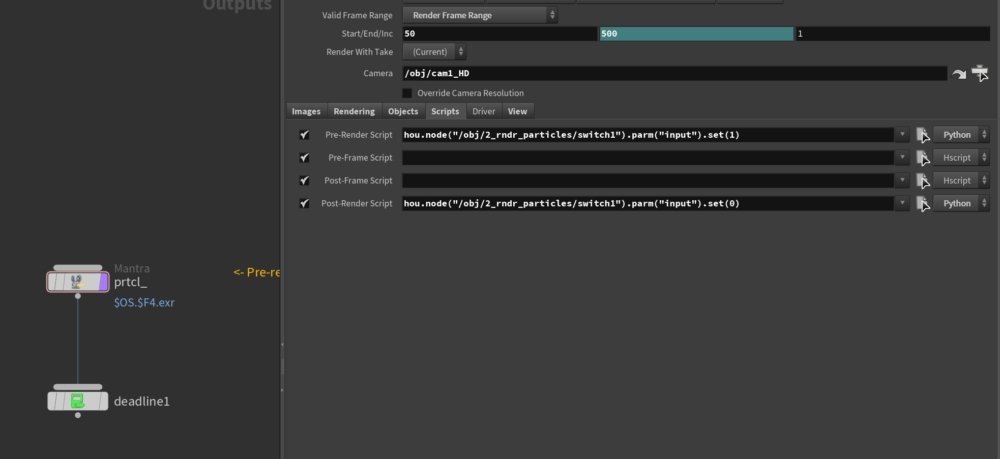
Switching sources happening in the rendering node as Pre-Render and Post-Render Scripts:
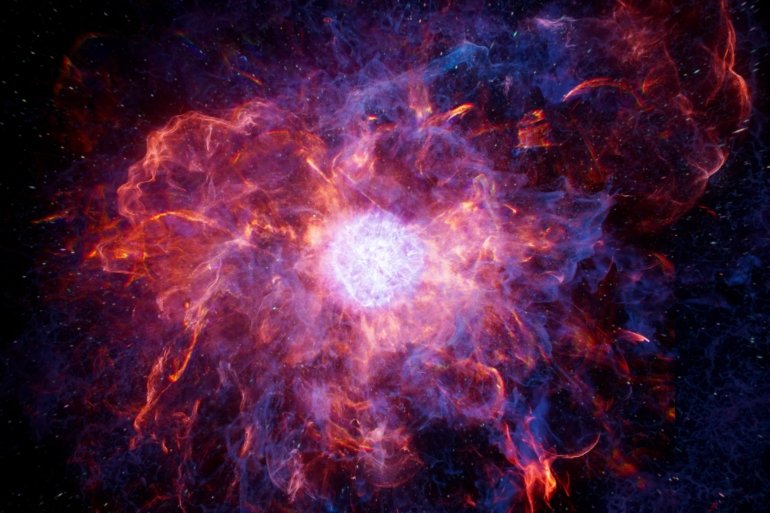
Combining several different elements to get a nebula look.
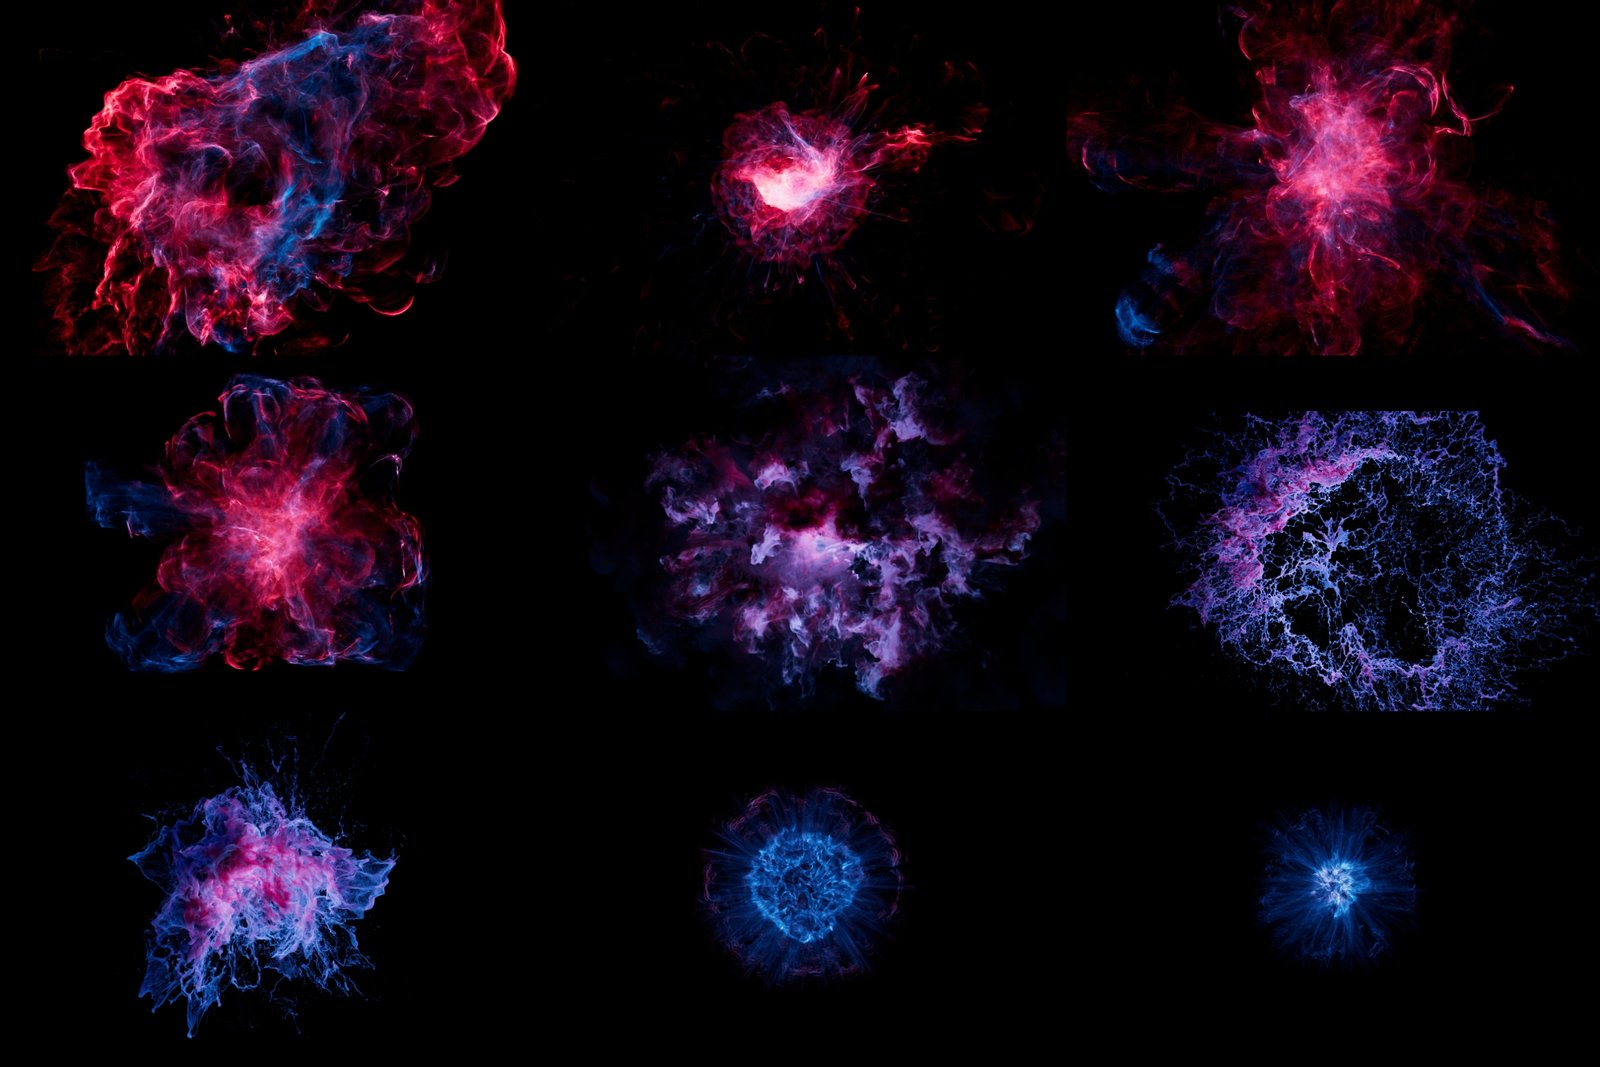
Get a full scene with all layers from Gumroad


