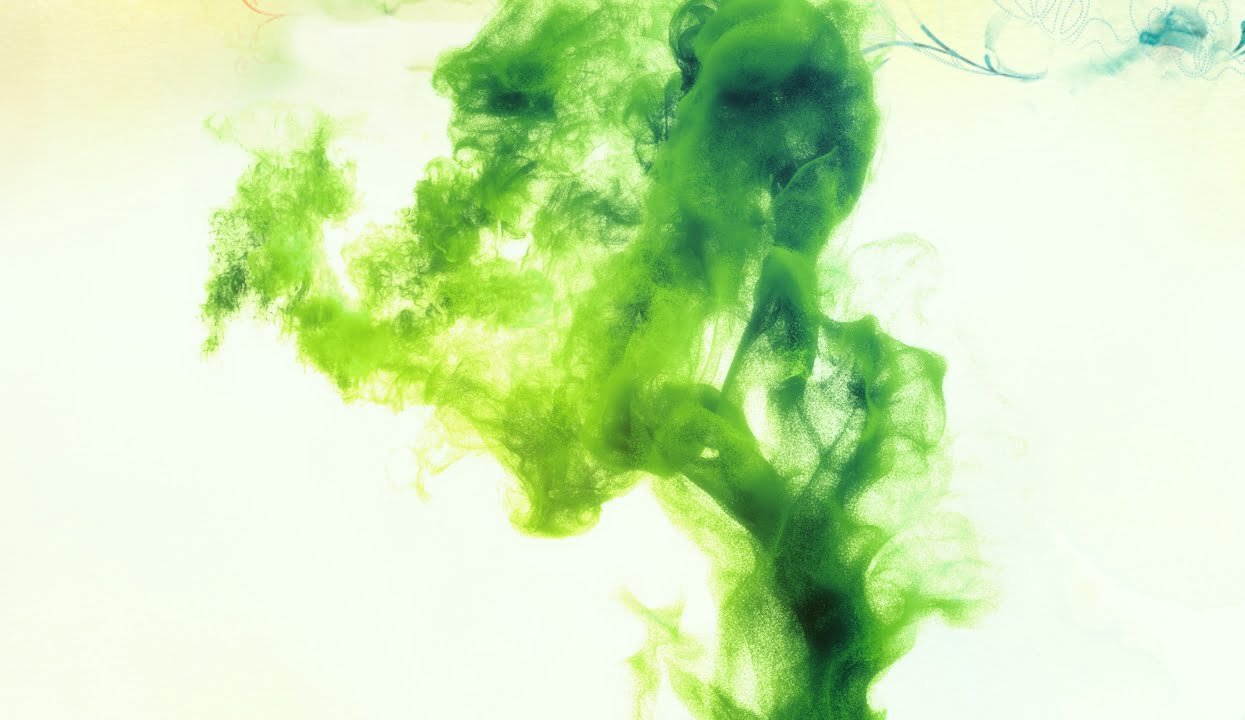
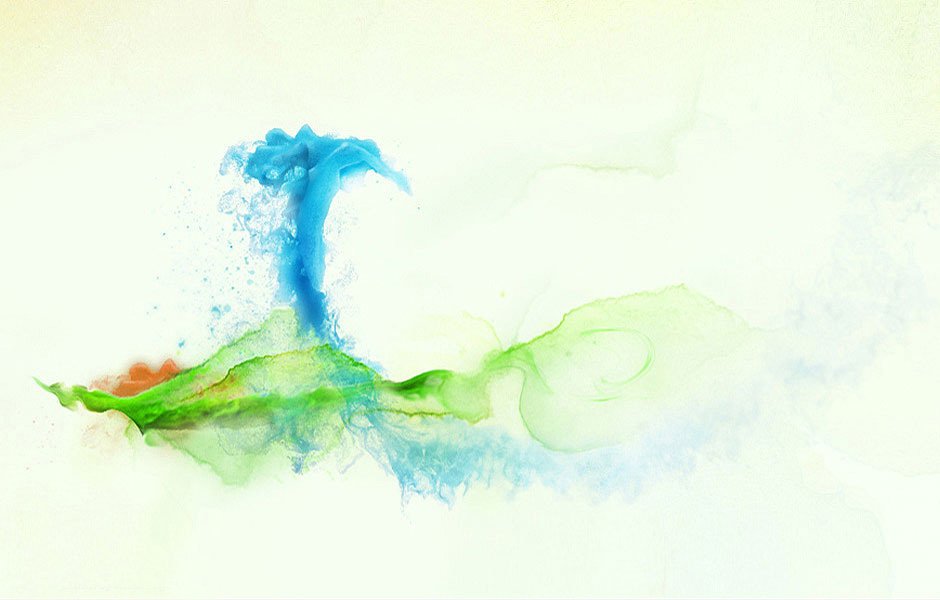
Almost after 3 years, I’m still getting a lot of questions about SPA animation:
More info/Credits: link
Let’s take a look at how it was made…
STORYBOARD:
STEPS:
1. Character Modelling
2. Character Animation:
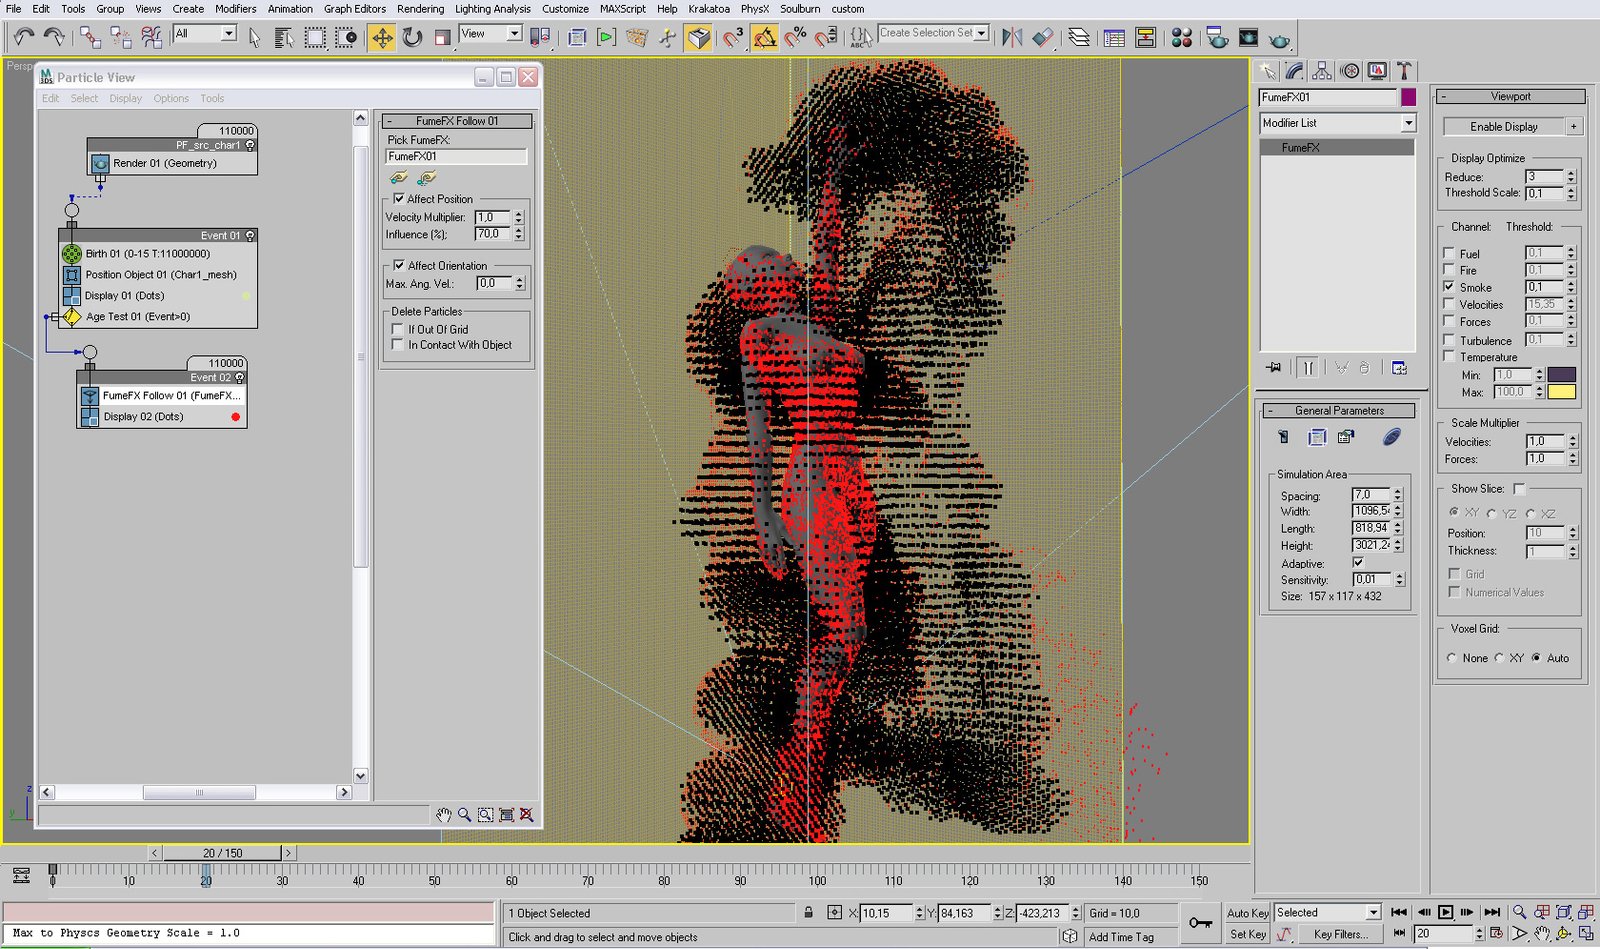
3. FumeFX simulation, separately for every char. (Don’t forget to save FumeFX cache with Velocity channel – this will be needed to place pflow particles on FumeFX data)
4. Add PFlow particles on every character, which will be driven by FumeFX (FumeFX Follow operator)
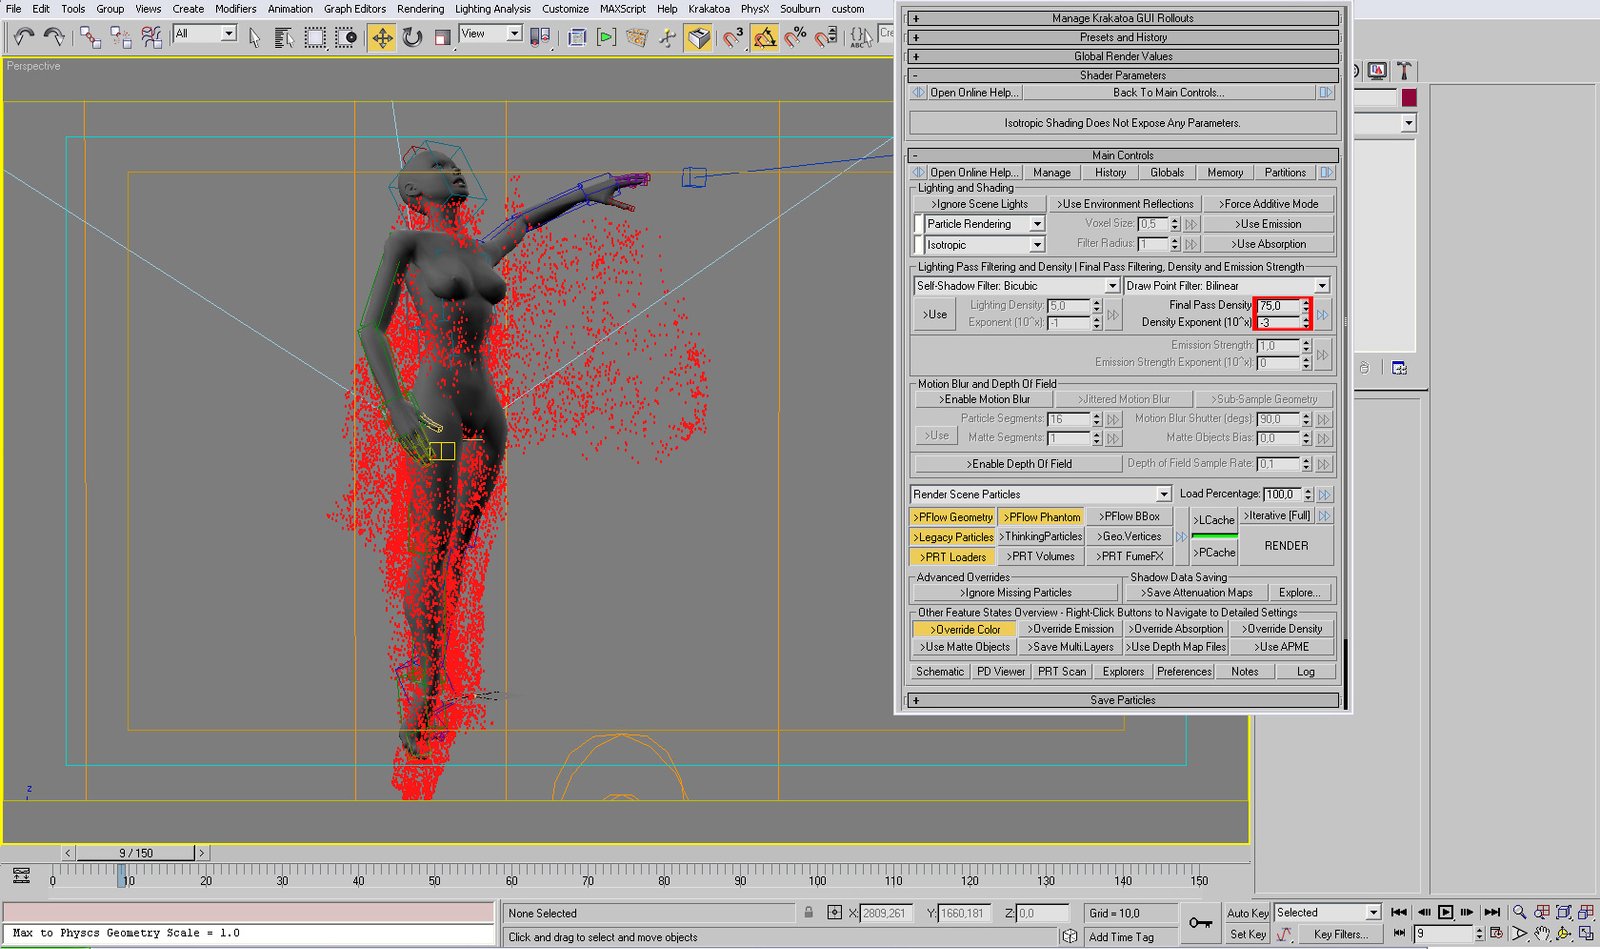
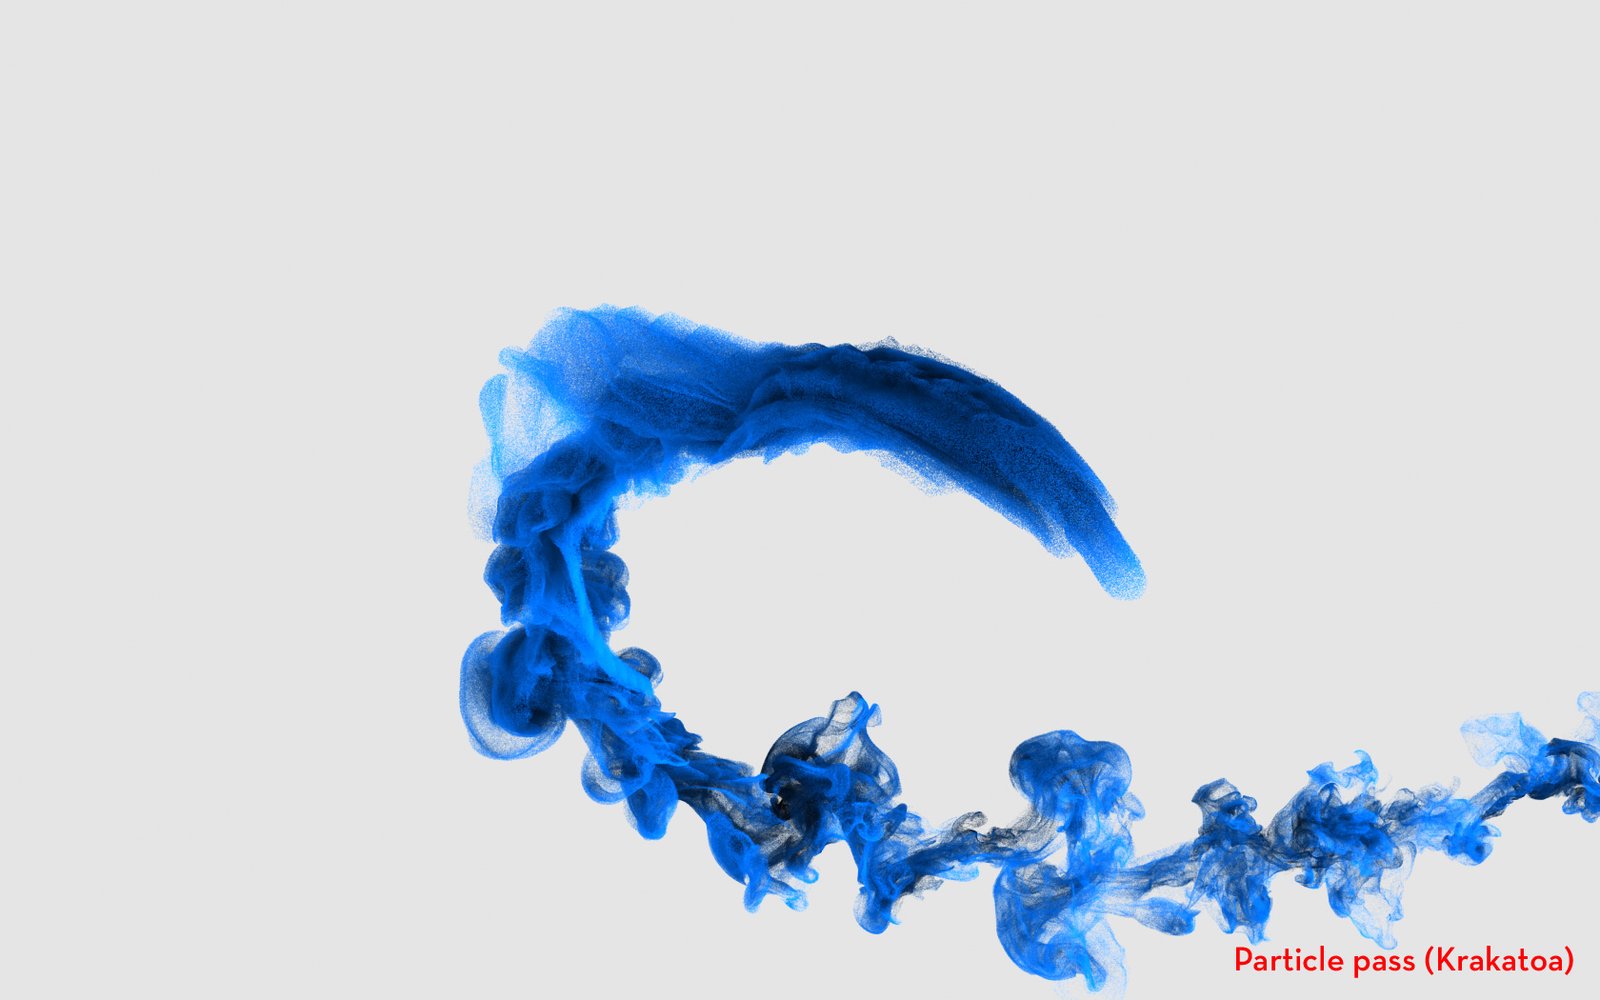
5. Render particle pass with Krakatoa
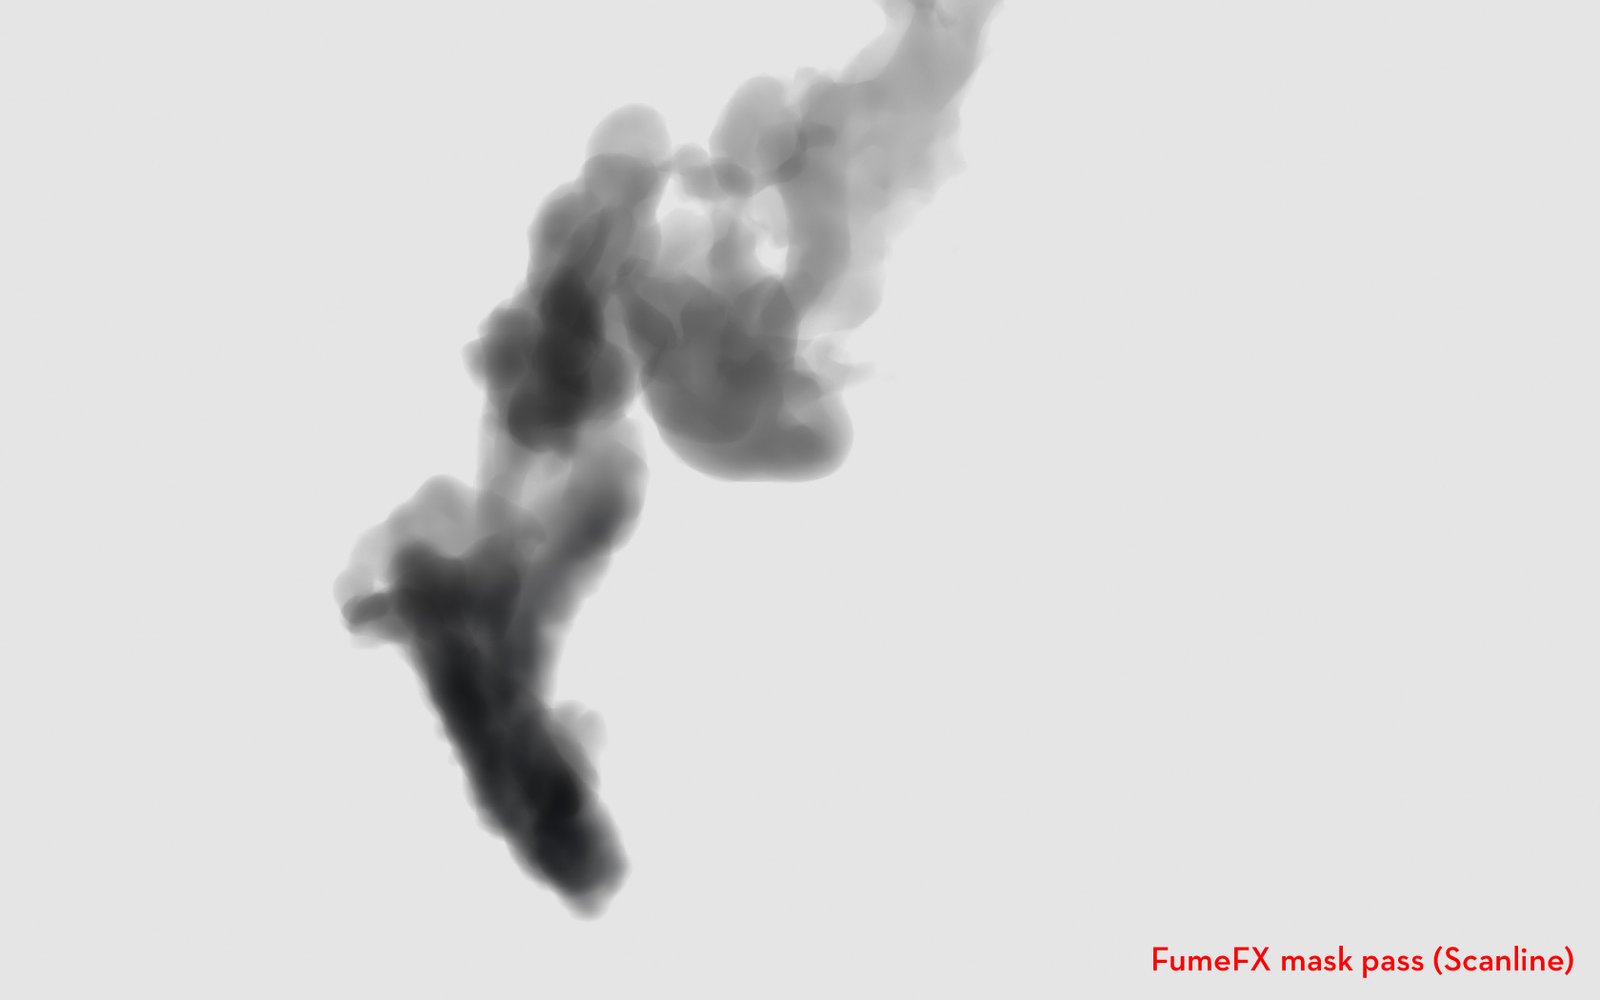
6. Render FumeFX pass with default scanline render (This pass I used for some masking in compositing process)
7. Compositing
I love to work with eyeon Fusion. But this task could be done in any compositing software – After Effects, Shake, Combustion or Nuke.
——————————
“EVILNESS”
For this part, the workflow was even simpler. In most shots, there was pure FumeFX simulation with added PFlow on top by “FumeFX Birth” operator. Sure, here we need a lot of more particles just to get ‘some’ stable shape. Keep in mind that this can be taken further and FumeFX can be driven with particles too, so more advanced workflow will be:
PFlow –> FumeFX (particle source) –> PFlow –> Krakatoa.
And that’s all 🙂
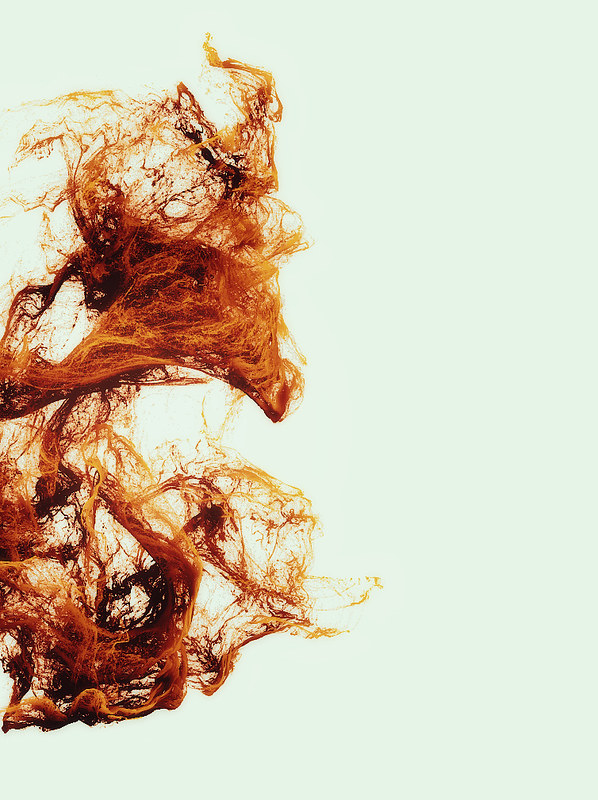
And here is what we got at the end:
——————————
Of course, current hardware possibilities can render a lot more particles. 3 years ago, I can’t have more than 6-12 millions on one character, and there was still a lot of troubles to polish grainy look in compositing. Now you can easily render 20-40 million on one machine, with one pass. Also, current Krakatoa versions have great tools to render FumeFX directly or save particles on disk, multiply them and have enormous options to modify the final look. Don’t waste a chance to not try it 🙂
——————————
Simple 3dsmax 2009 example to play with:
Download (1.3 MB)

