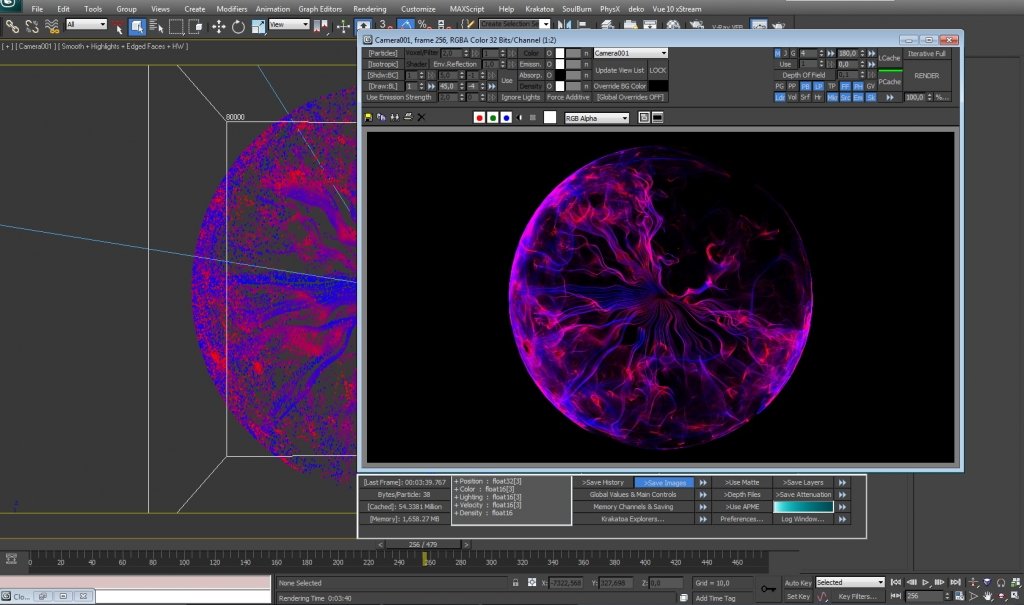
Here are some Krakatoa coloring techniques.
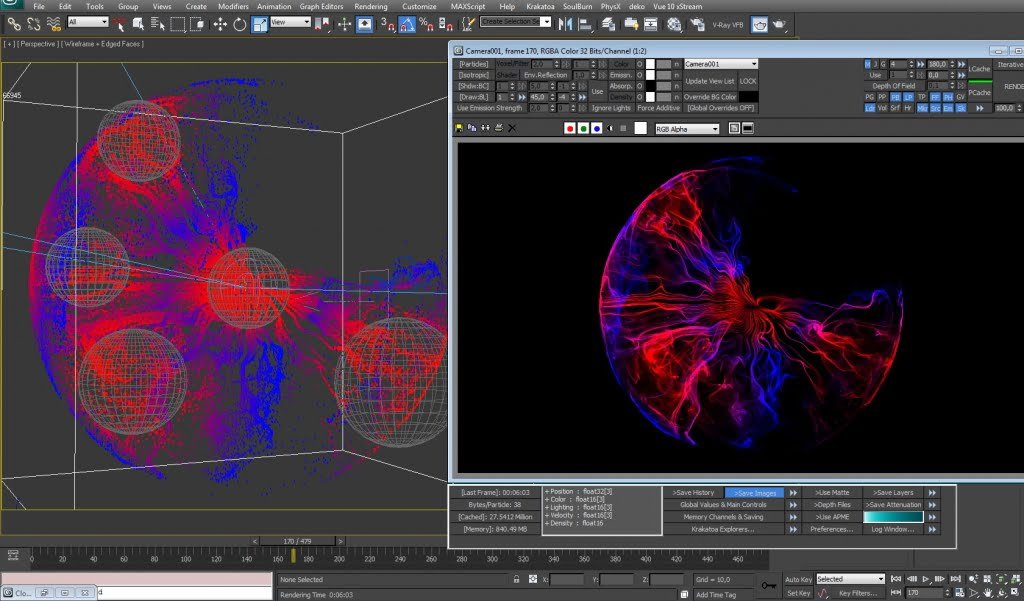
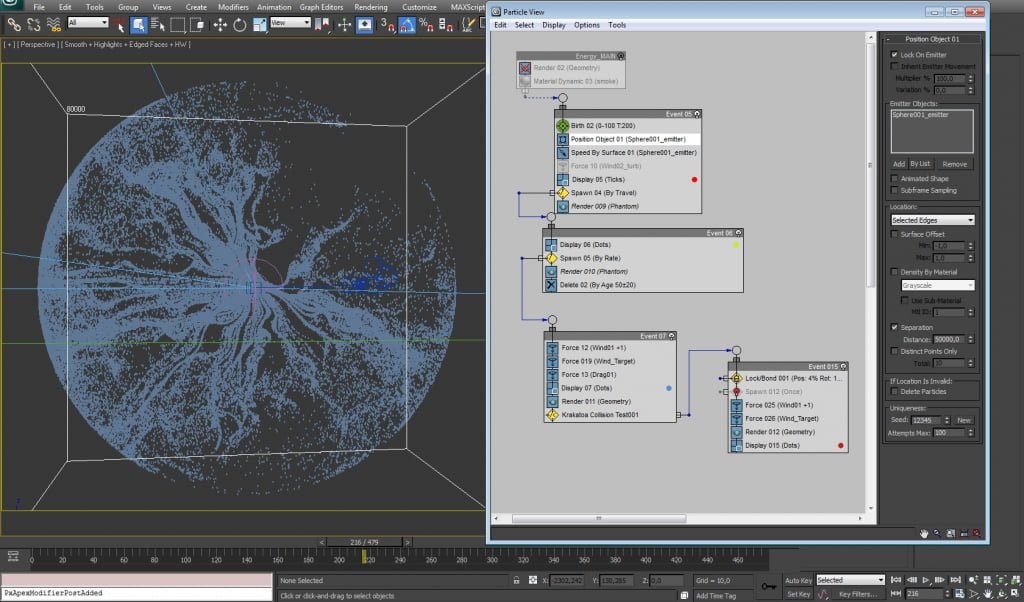
Particle Flow scene, 200 particles are moved slowly around a little sphere – emitter object. To make nice thin lines, they are separated as much as possible in Position Object operator.
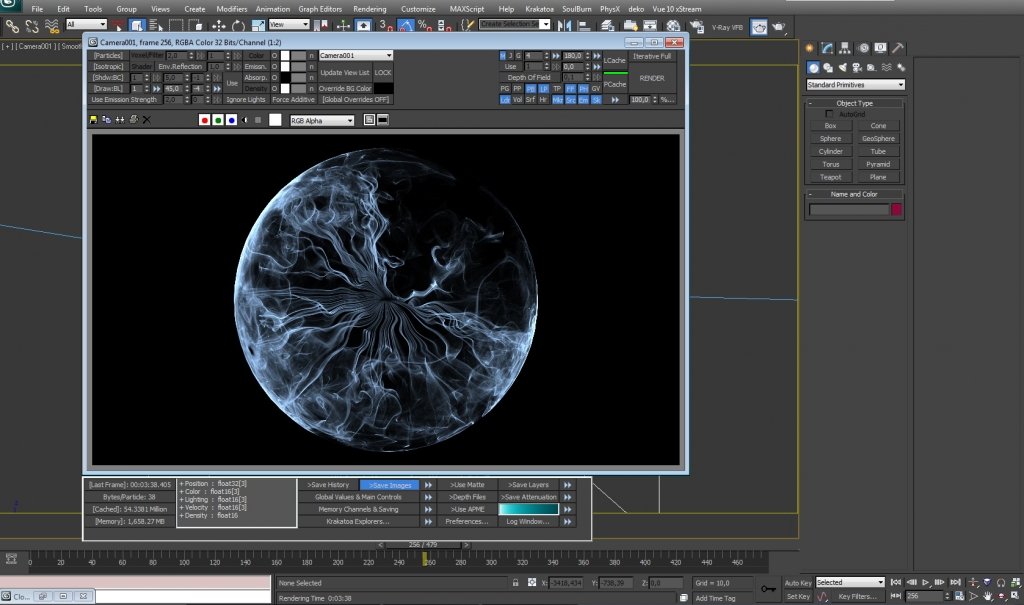
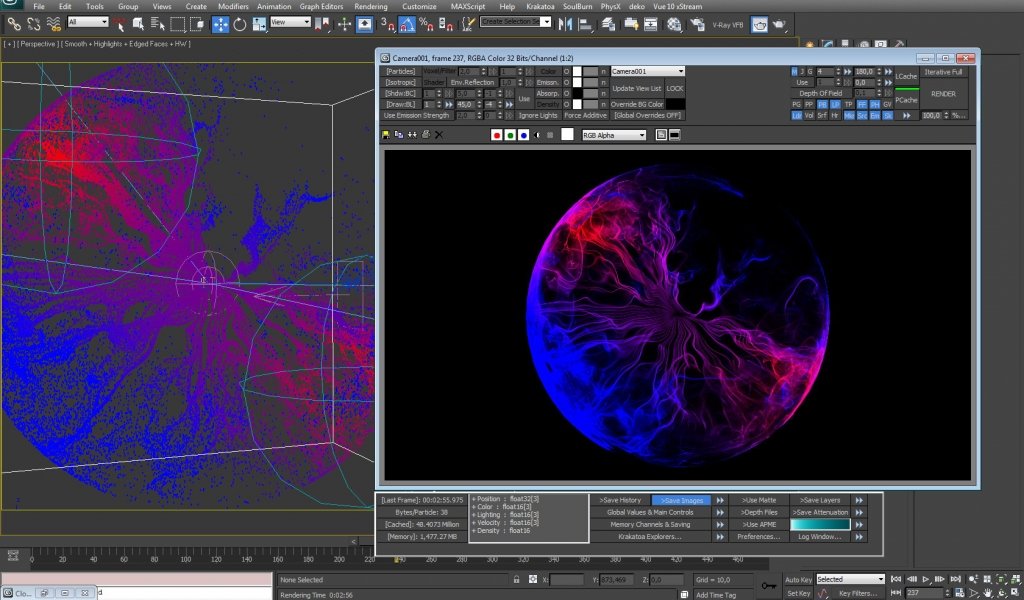
After exporting to Krakatoa’s PRT format, here is rendered 80 million particles:
3dsmax 2012 scene with PFlow setup, as well PRT Loader with already pre-cached one frame (220MB). All MagmaScripts with exact screenshots included. Magma files can be download separately under each thread or from Dropbox.
POSITION | MAGMA FLOW
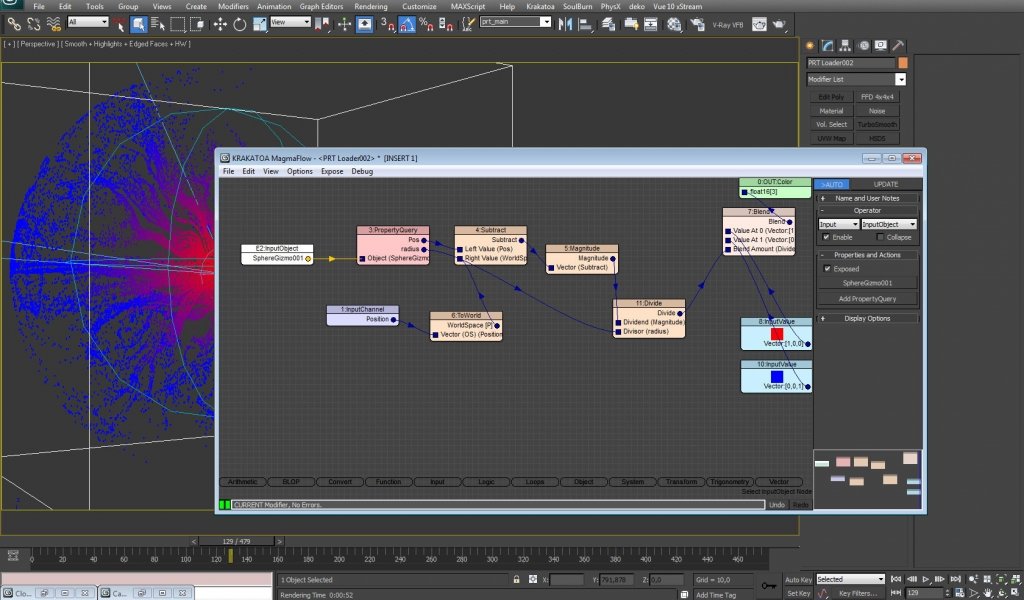
Atmospherical gizmo object is used as placement area for blending two colors.
After some tweaks, there is a possibility to use more than one gizmo.
Or even custom geometries.
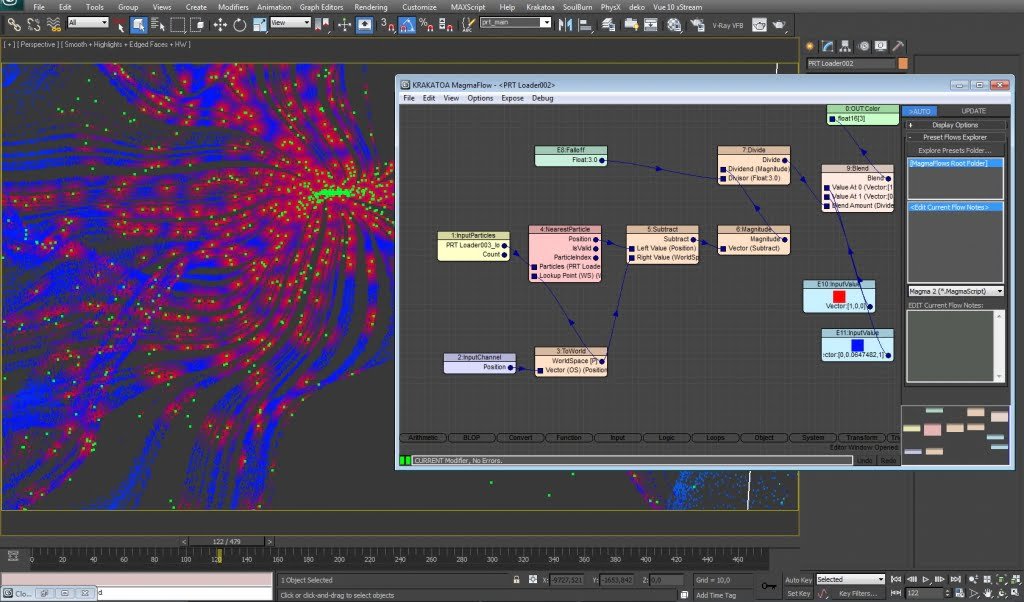
Or color by nearest particles from another particles container.
DENSITY | MAGMA FLOW
Density can be modified individually, even in another magma flow. Here is an example of how to set noise map as particle opacity.
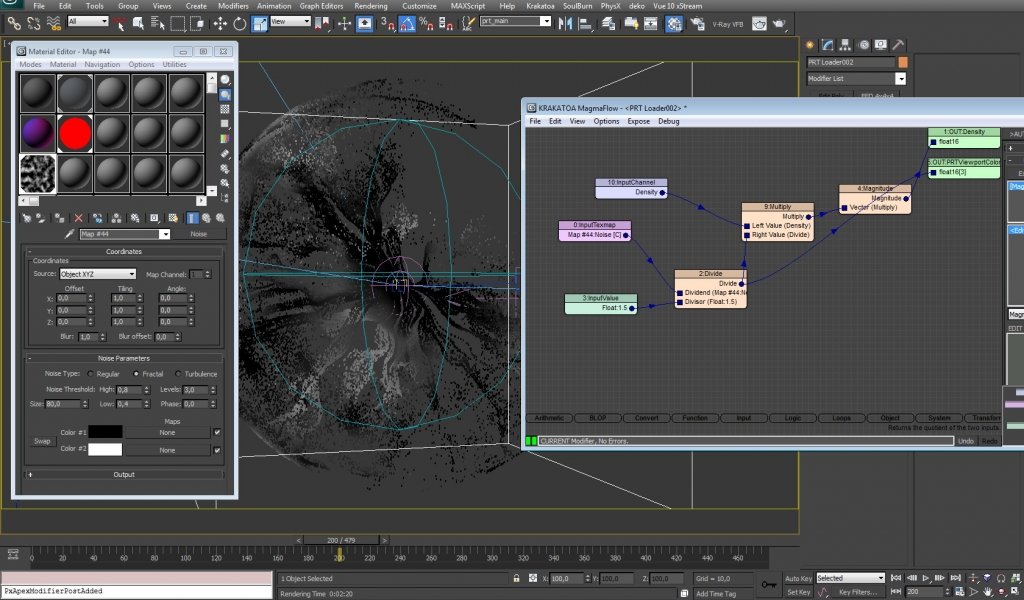
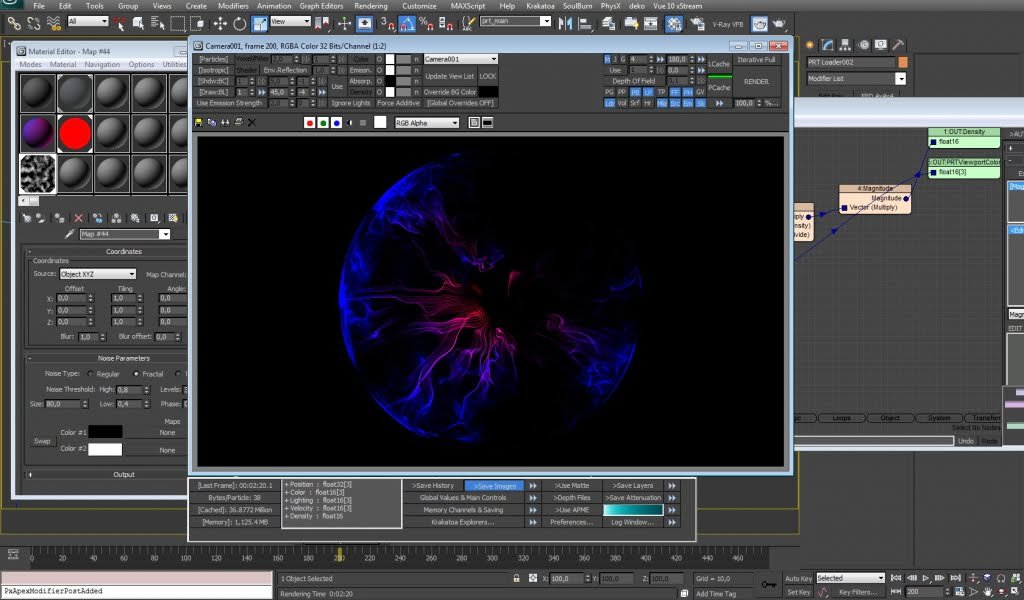
Tip: For a better representation of what we do with density channel, it is good to use additional PRT Viewport Color output in magma Flow. It doesn’t affect final rendering and works in viewport only.
VELOCITY | MAGMA FLOW
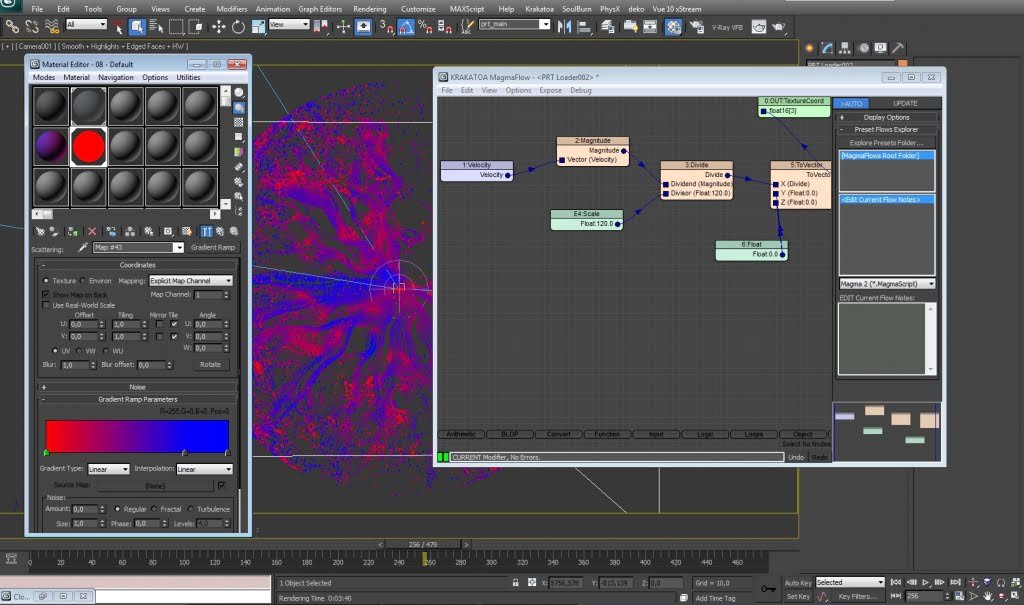
Here is a simple way to blend two colors by particle speed.
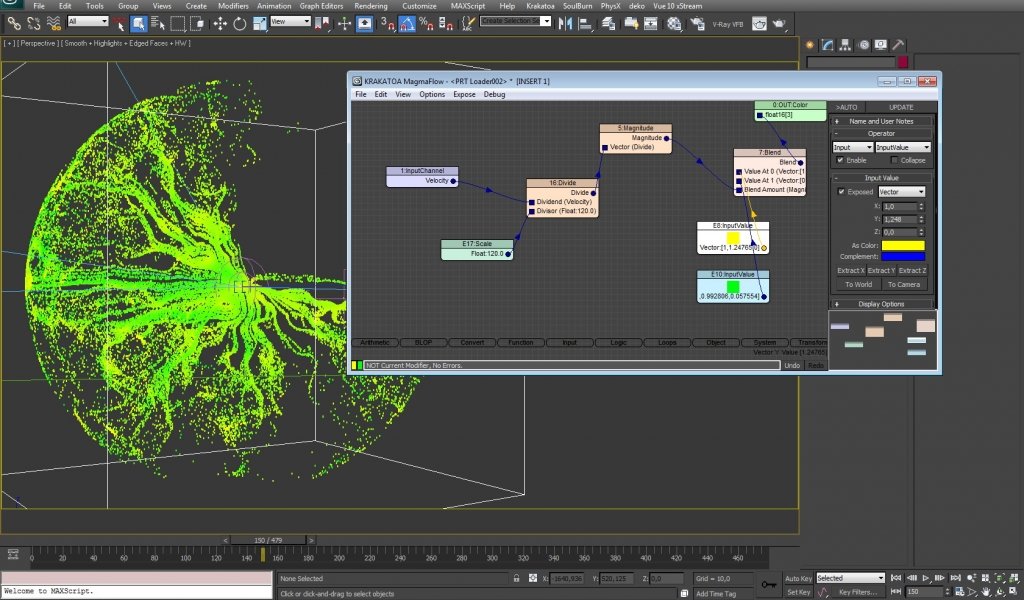
GRADIENT | MAGMA FLOW
Usually is better to use 3dsmax maps to generate color data, as for example gradient ramp as particles velocity mark.
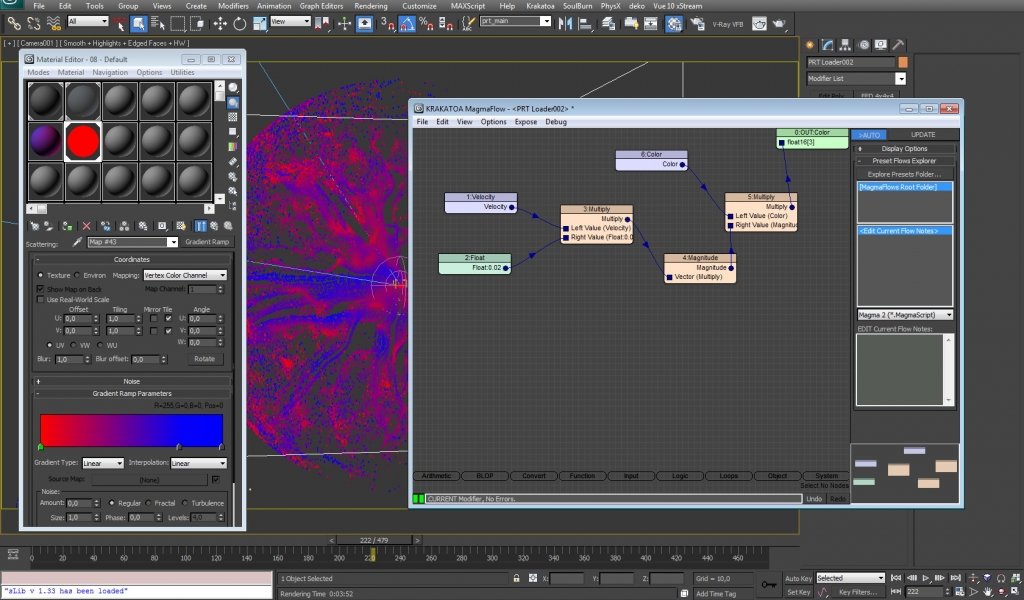
Important: Gradient Ramp mapping cordinates must be setup to vertex colors.
Or even better – leave entire color info to maps/other sources and modify only particles texture coordinates. Here are the same results as a previous, but completely different approach.
COMPOSITING
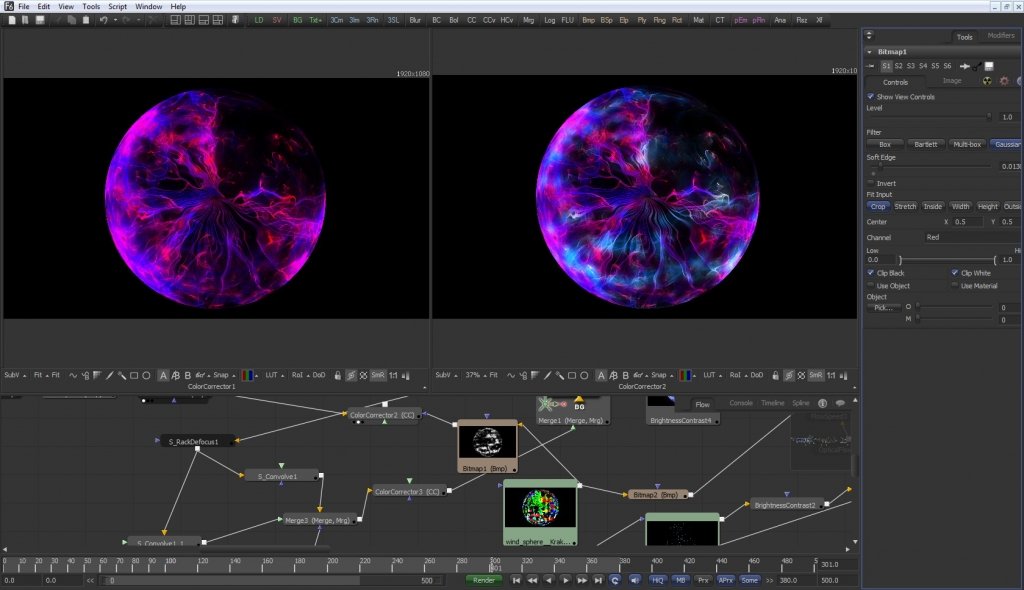
One of the most wonderful Krakatoa tricks is that same particles coloring approach can be used to render elements (as CustomData).
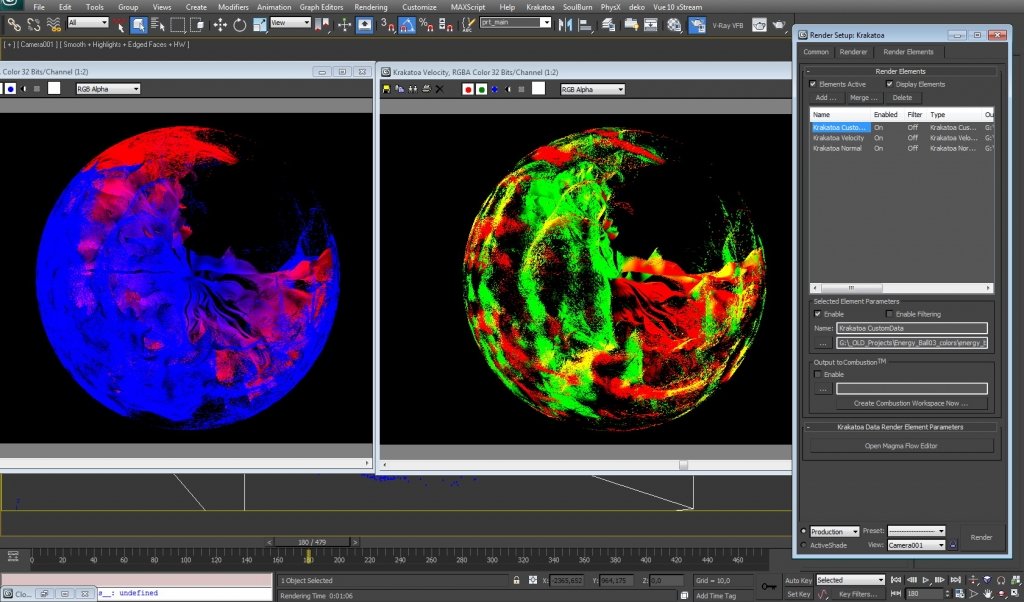
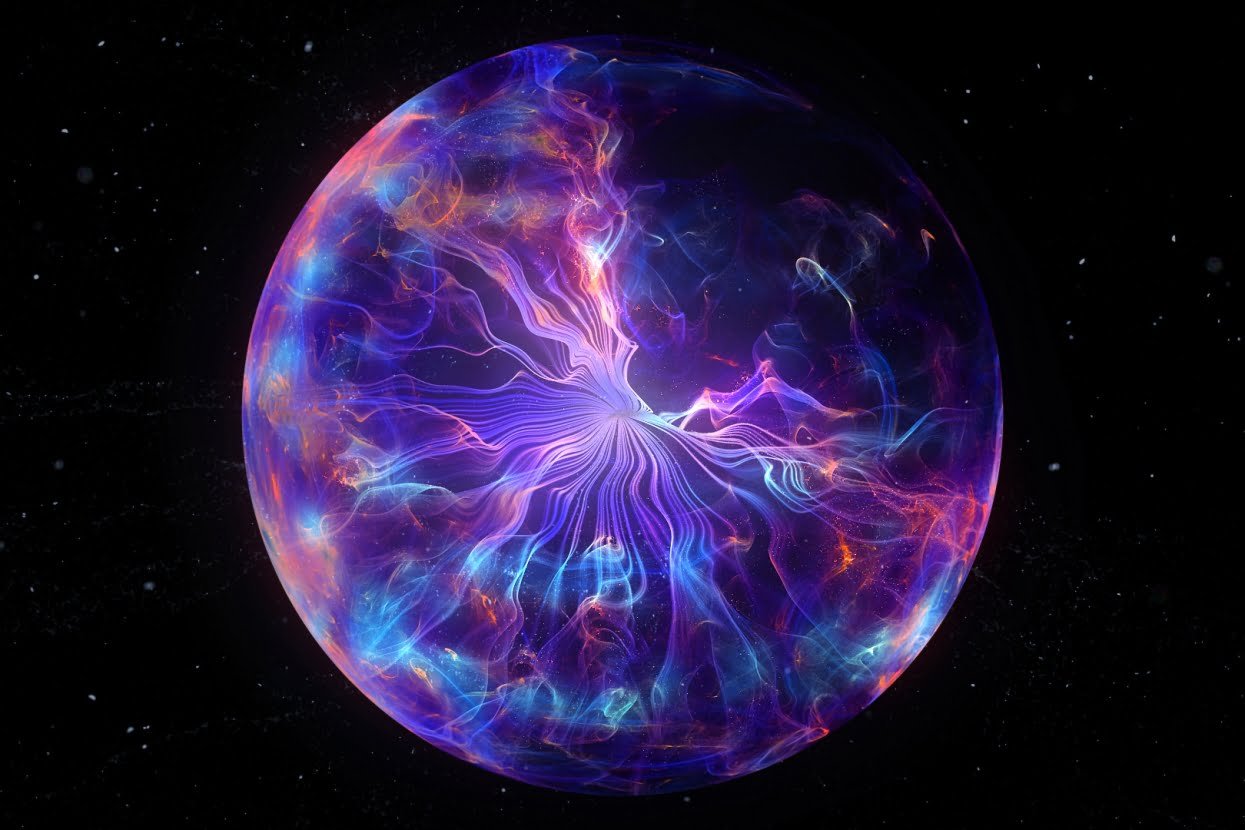
Here is an example of how one more color was added to the final image by extracting and masking one velocity direction from Velocity Pass. With custom elements, any masks can be created.
