There are several different ways to have some randomization of the fluid colors.
Let’s take a look at what can be possible, based on FumeFX for 3dsmax.
Standard Shader
Channel Shader
Color Channel
STANDARD SHADER
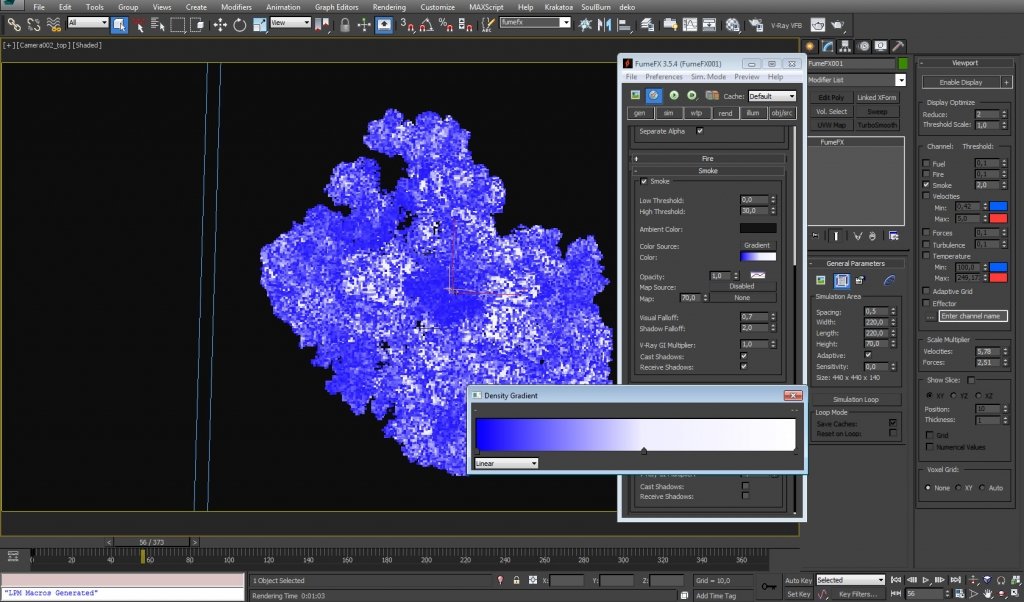
Kind of default fluids rendering way. Gradient works for smoke density relatively from left to right. Link to download max file is beneath pictures.
CHANNEL SHADER
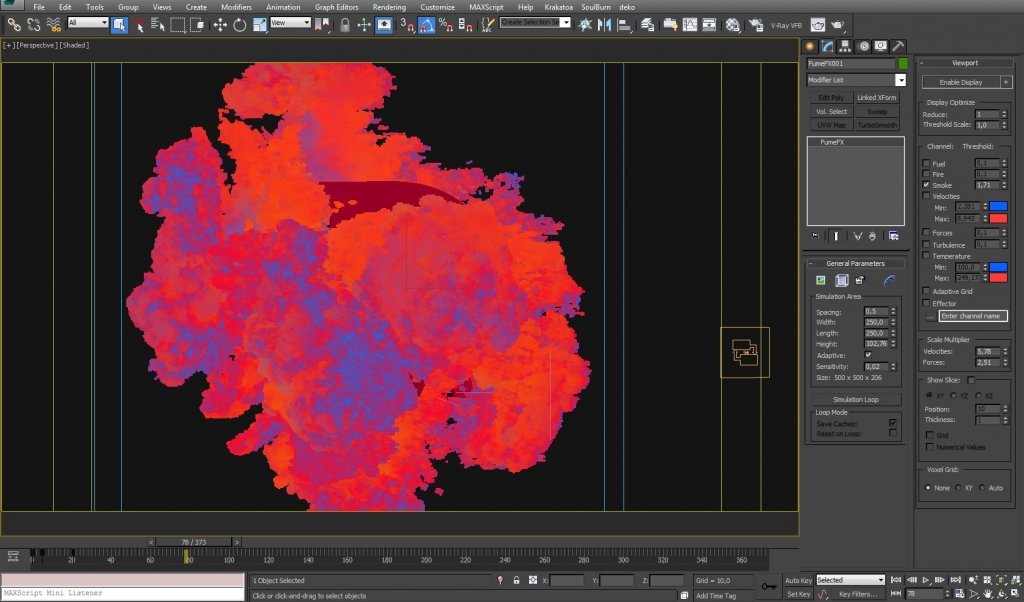
This is a bit more interesting due ability to color entire fluid by other channel property, take a look what we can get from temperature or velocity.
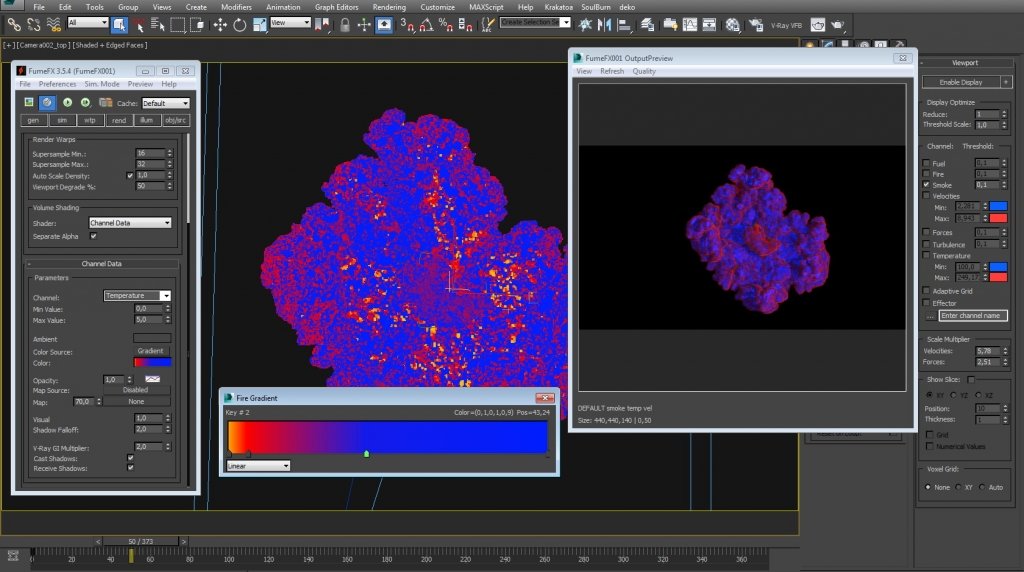

In practice, rendering fluids with channel shader coloring aren’t very usable due to too fewer options. Yes, it can help get an additional colored pass for compositing or just get some weird “artsy” stuff.
For final look is better to give a chance for new color channel and effector combination.
COLOR CHANNEL
And here is most interesting part – color channel. It gives the ability to have color channel stored in the fluid itself. Introduced in FumeFX 3.0, works in a pretty straight way – color is defined by source, so practically you can have a couple of different sources to mix colors. There is as also helper which give more options to change them, in FumeFX it’s calling Effector.
Let’s take a look how it works by examples.
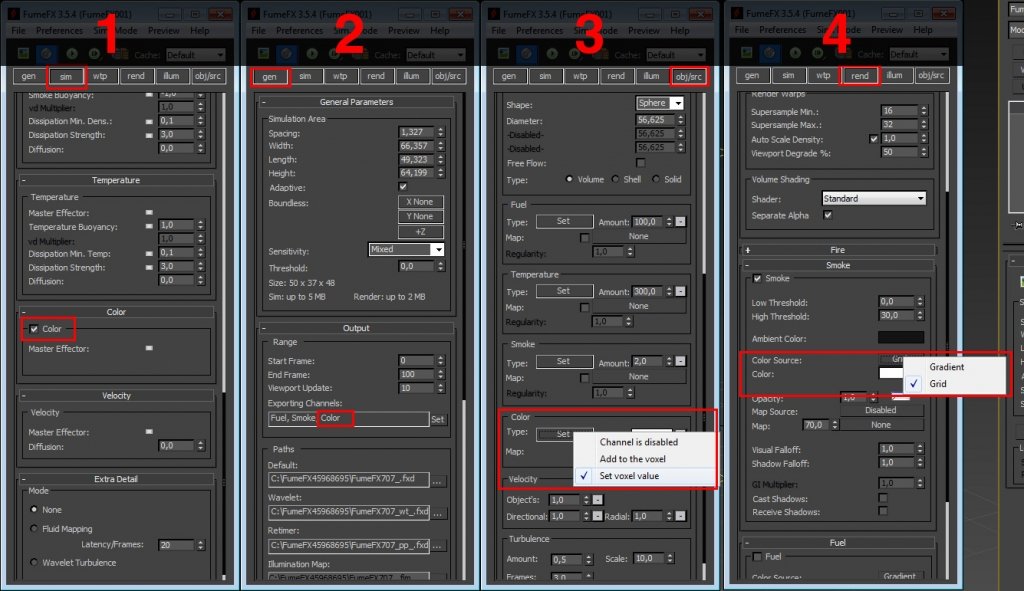
Workflow is pretty straightforward:
- Enable color simulation is sim tab
- Check if color channel added to exporting channels list
- Enable color simulation in every source
- Switch rendering from gradient to grid
SIMPLE SOURCE
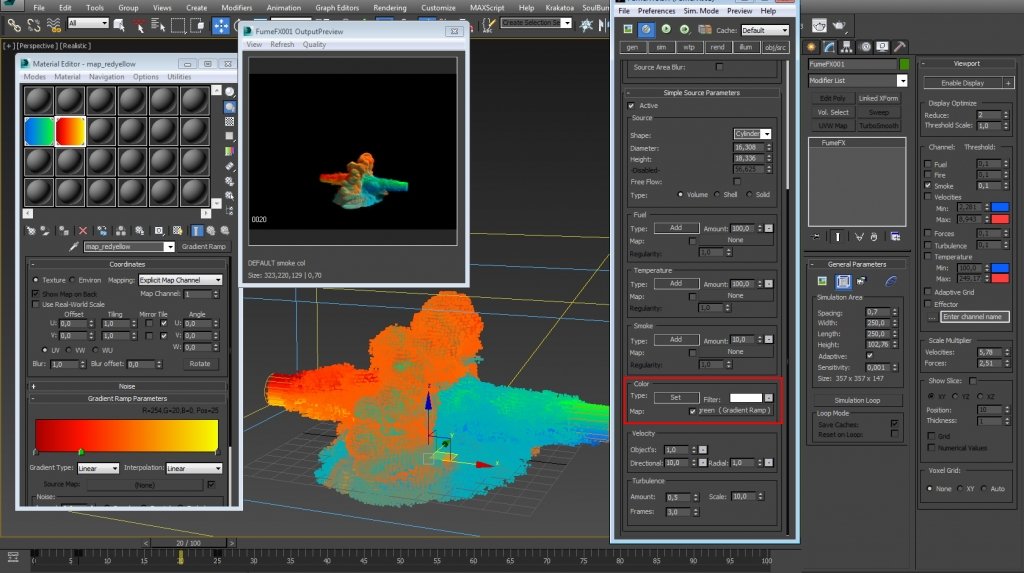
Here is a simple example of using simple sources. Colors can be not only picked but added from maps. In this example from gradient ramps. Just keep in mind, when adding a map, color picking area becomes a source for filtering color, so it always should be white!
MAP SOURCE
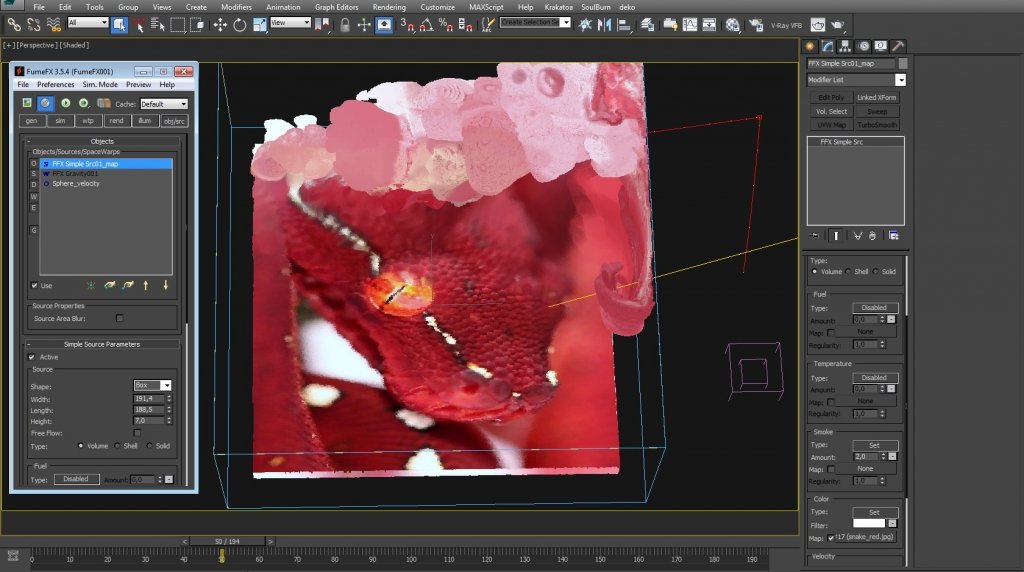
Trying to align map isn’t always works as expected, but it’s possible. Better to have the source on 0,0,0 world coordinations.
As previous, with the only difference that here particles added as velocity source. All other particle channels are disabled.

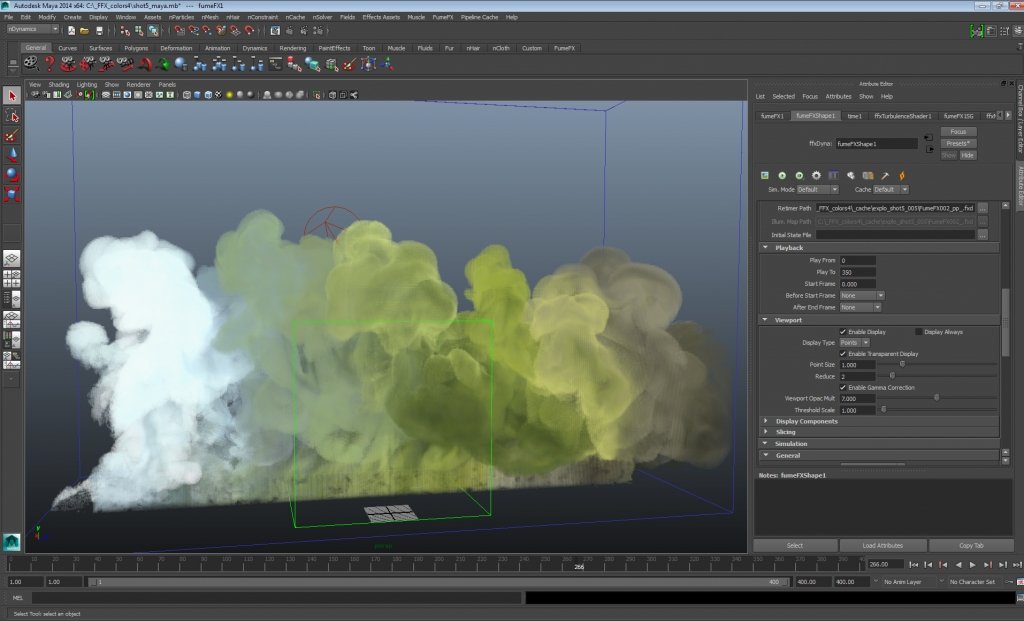
Another example of using a bitmap as a source. Btw, do you know that same FumeFX cache can be loaded in FumeFX for Maya? Basically, you can render 3dsmax simulation with Arnold/MentalRay/WhateverMayahave.
PARTICLE SOURCES
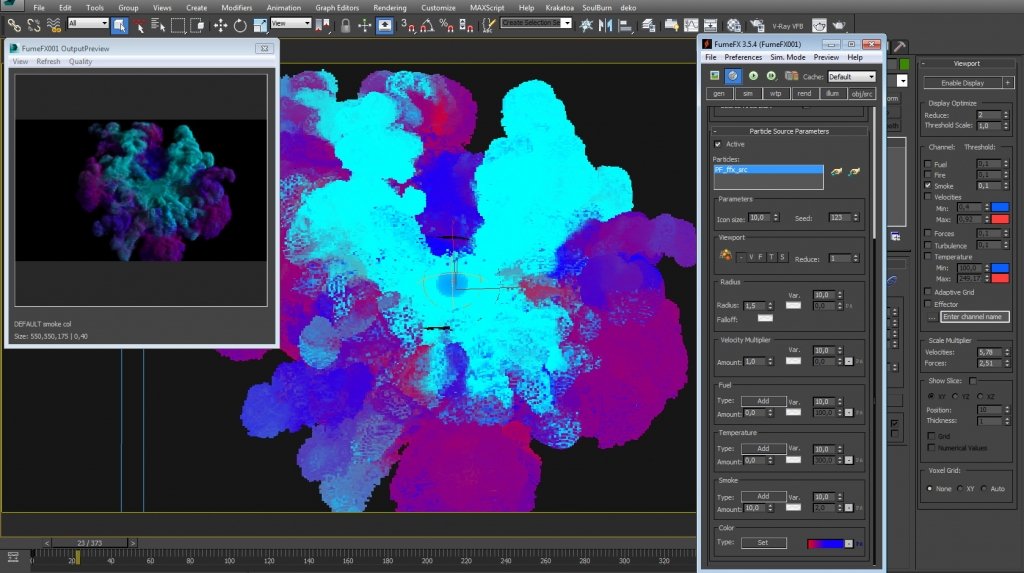
Unfortunately, particle sources can’t accept any maps, so usually, it’s better to have a couple of different sources with slight colors variation.
THINKING PARTICLES SOURCE
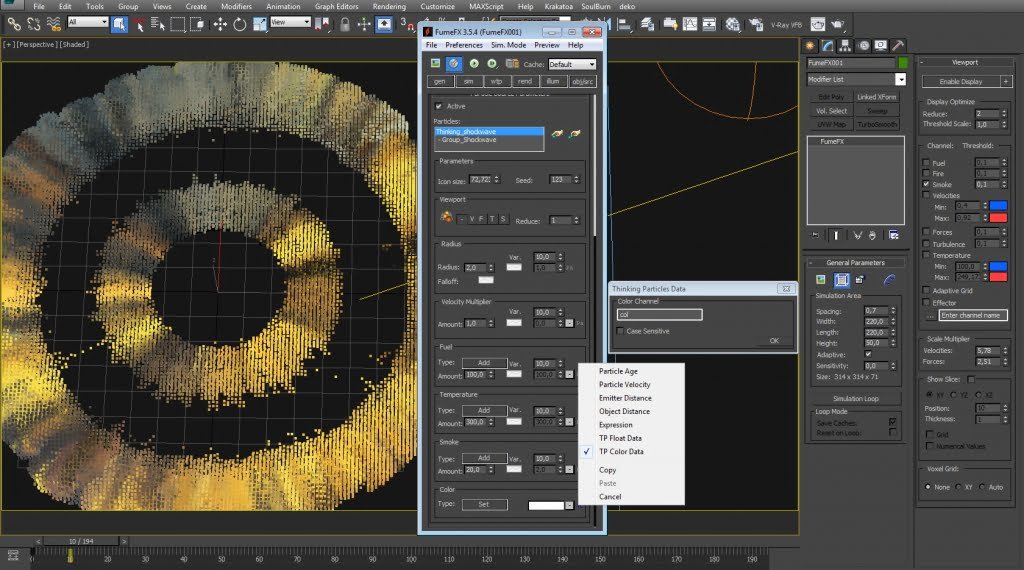
A bit better solution to work with fluids have Thinking Particles. There is an ability to get Vertex Color data from particles. All you need is to save/name your data channel in TP. And choose that name in ffx particle source.
EFFECTOR
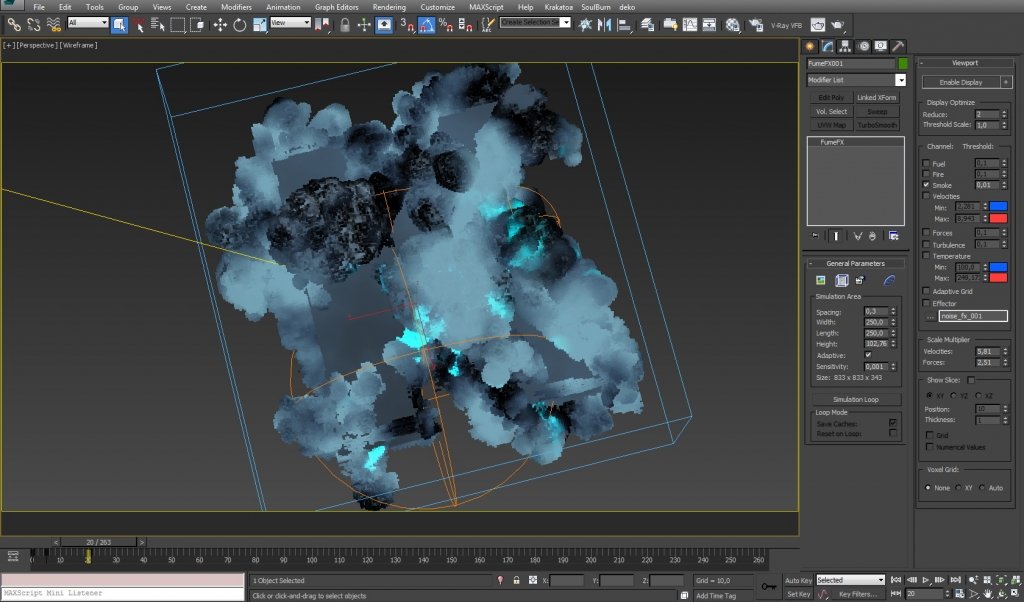
Effector works by choosing a channel name in effector itself. Then in simulation tab, color area, desired effector can be chosen. Keep in mind that several effectors can be used in the same simulation.
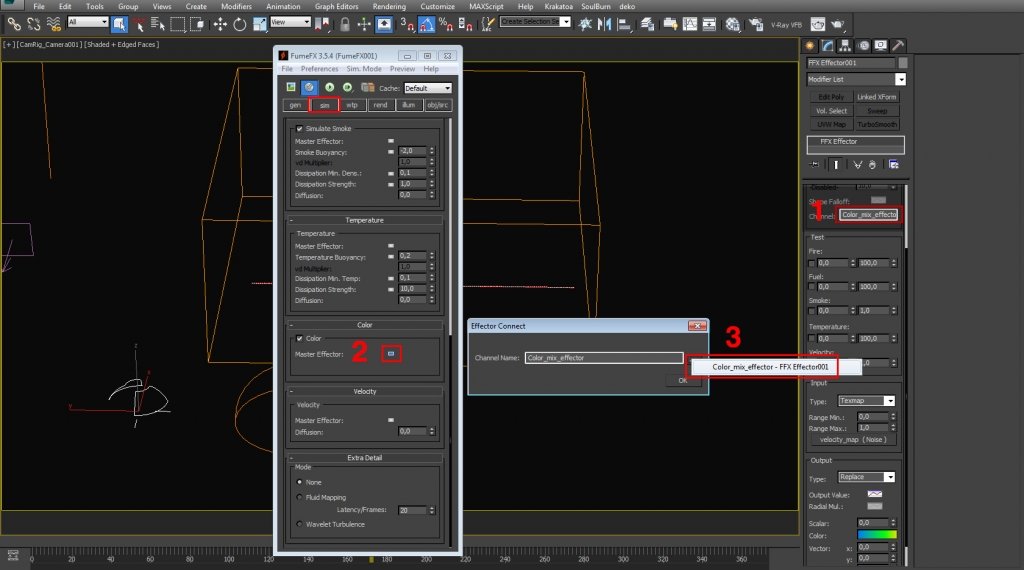
Effector has two main area that should be taken into consideration when developing own effect – Input and Output. As Output, we just find the desired color (or gradient) and make some operation with it – Multiply, Blend, Add to existing color or completely Replace it.
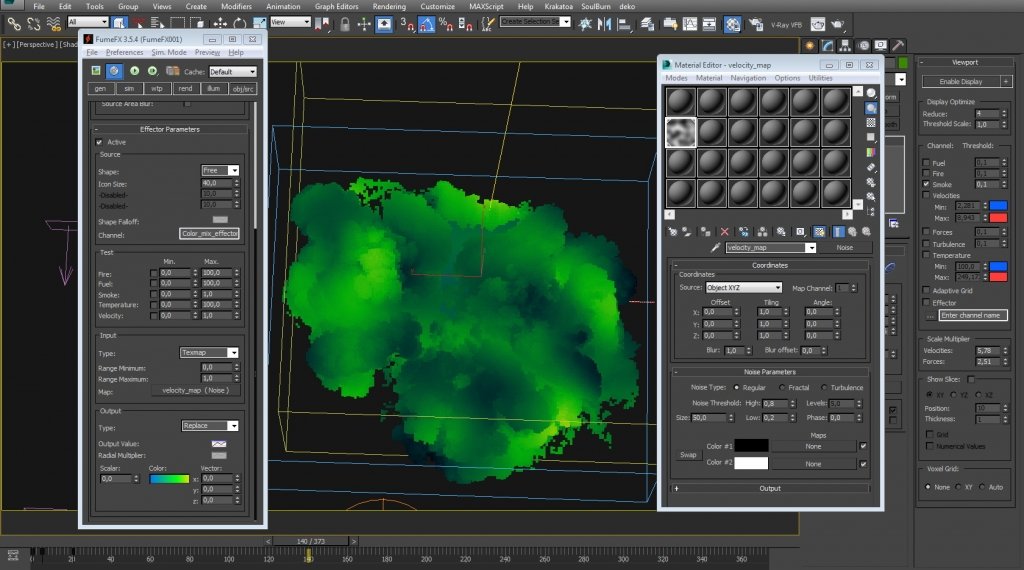
Input works as a mask in compositing software’s, it takes only some portion of the entire fluid to bring it to the Output. In an example below, Input is a 3d texture. So by map hi and low gray scale value that portion of the map is sent to Replace color with chosen gradient.
BONUS
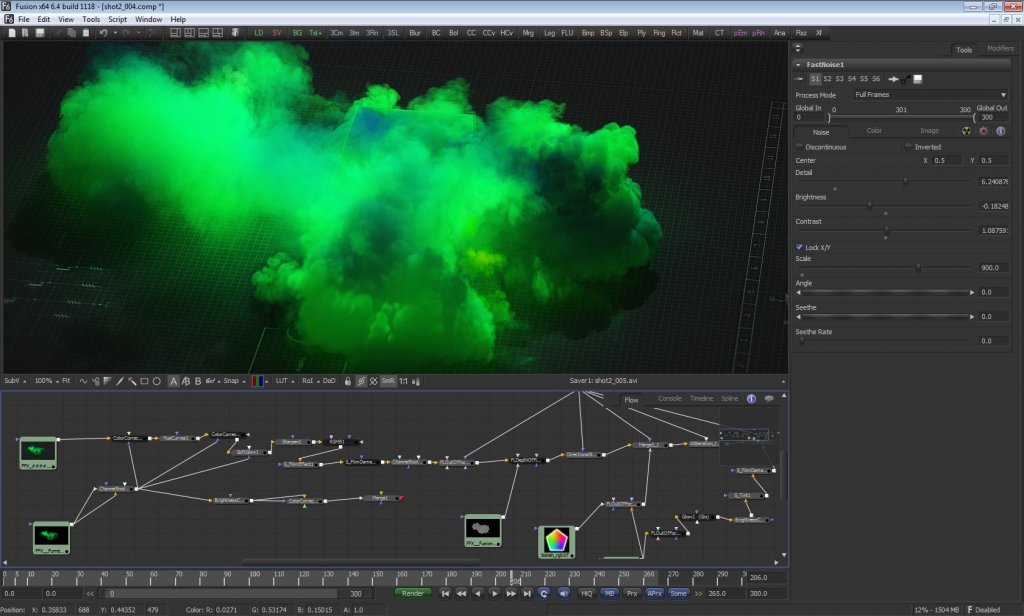
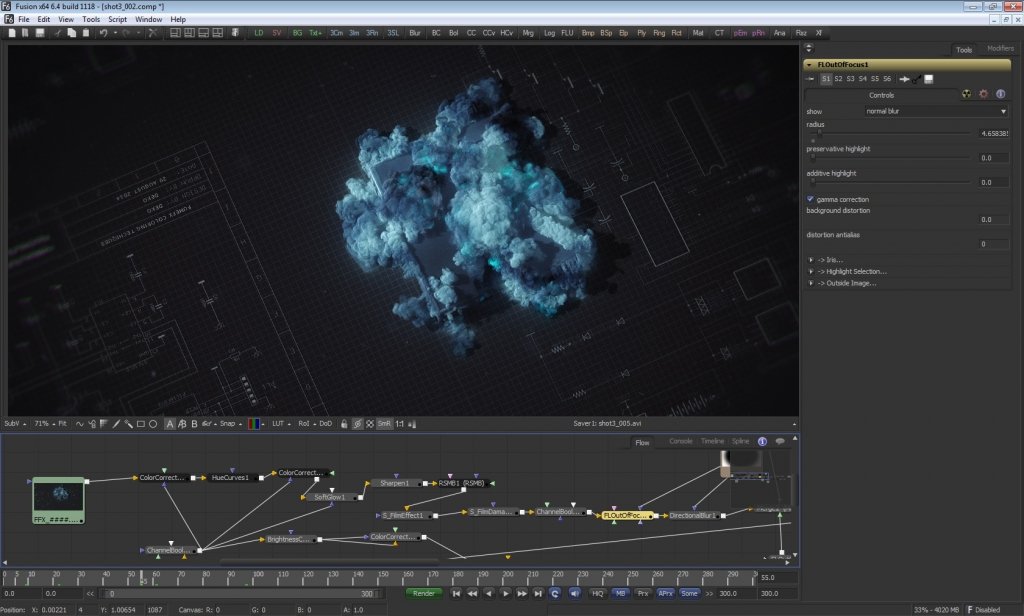
Every shot from the video above made with the same techniques as explained in this fumefx coloring walkthrough. So it will be not hard to replicate them. Anyone who wants to get exact same max/fusion files can get them from Dropbox for free:


